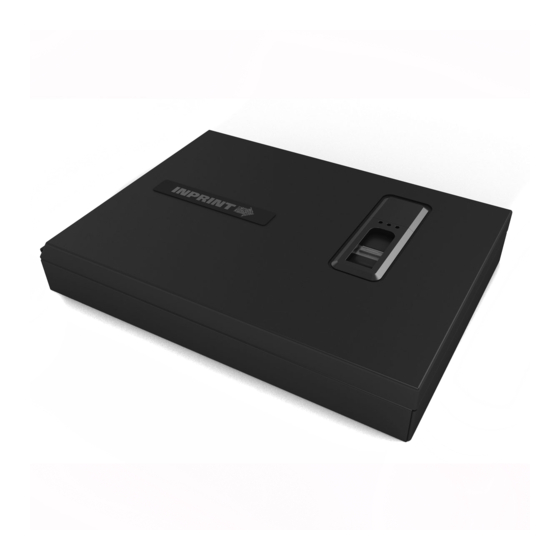
9g Products INPRINT-MICRO Manual de instrucciones - Página 5
Navegue en línea o descargue pdf Manual de instrucciones para Controladores de acceso IP 9g Products INPRINT-MICRO. 9g Products INPRINT-MICRO 12 páginas.

2
STEP
The battery is installed inside the INPRINT-
MICRO. Remove screw and battery cover
Ref Fig 2. Attach battery to hookups
and place battery inside the compartment.
Replace door and screw in place.
Change the battery when the RED light
flashes slowly at the end of an operation
indicating that battery power is low, or if you
notice the opening process slowing.
3
STEP
The INPRINT-MICRO incorporates an
Administration Button located above the 9g
label (Ref Fig 3). Remove the screw with
your fingers (you do NOT need to tighten,
just finger tighten screw to close hole after
use). Use the included straight tool (or
paperclip) to insert and press Administration
Button.
1) Press and hold to clear all
memory
2) Press and release to initiate
enrollment process
To clear the INPRINT-MICRO of all
stored fingerprints, locate the
Administration Button. Press and hold
the button firmly until the RED, YELLOW
and GREEN lights rapidly flash together.
This indicates that the memory has been
completely cleared and all fingerprints
are erased. If the INPRINT-MICRO door
is now shut without an enrolled fingerprint,
the only access is with the backup keys.
CAUTION: If the Administration Button is
pushed and released, the INPRINT-MICRO
will begin an enrollment sequence rather
than clearing the memory. The GREEN
and YELLOW lights will come on for a few
seconds and then go out and the RED
light will flash rapidly indicating that the
enrollment sequence has failed. Wait until
the lights stop, then repeat the procedure
above to clear the memory.
5
fig .2
fig .3
