AQUAPHOR RO-202S Manual de instrucciones - Página 8
Navegue en línea o descargue pdf Manual de instrucciones para Sistemas de filtración de agua AQUAPHOR RO-202S. AQUAPHOR RO-202S 16 páginas. Reverse osmosis system

6. Launching RO-202S
Step 1. Connecting inlet tubes
• Connect the inlet tubes according to the
diagram shown in Fig. 9.
Step 2. Preparing your RO-202S for use
• Remove the overwrapping film from the
cartridges.
• Remove transport plugs (if any) from the
cartridges.
• Rinse the O-rings of the cartridge under a
water stream.
• The cartridges are inserted into the corres-
ponding collectors until they stop and turned
clockwise, as shown in Fig. 10a, until a click.
• To remove a cartridge, press the lock button
as far as it will go and hold it while turning the
cartridge counter clockwise, as shown in Fig.
10b, and remove it.
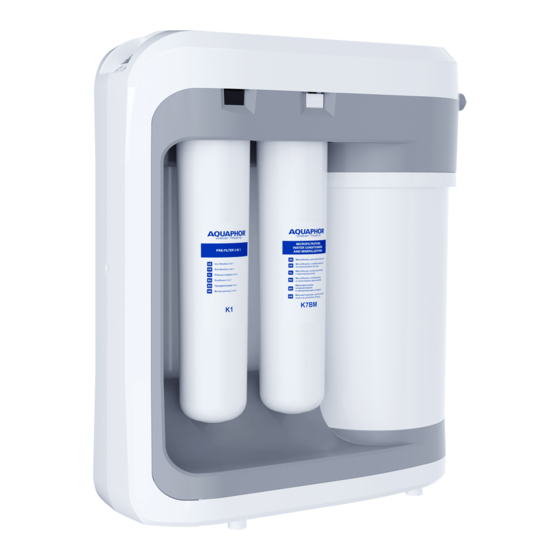
• Install the cartridges as shown in Fig. 11.
• Insert the plug of the power supply into the
outlet, and the plug from the power supply
into the socket in your RO-202S unit (Fig. 12).
Step 3. Flushing the pre-treatment unit
• Open the treated water tap.
• Turn the inlet cock of the connecting assembly
to its open position. The cartridge life indicator
lights blink (the light signal is be followed by
an audible one).
• On the front panel of your RO-202S (Fig. 13),
flash the PUSH button 3 times to start the
flushing mode. At this, 5 audible signals sound,
the cartridge life indicator lights go out and the
flushing mode of the pre-treatment unit starts
and lasts 30 minutes.
• First, air comes out of the system with some
noise.
• Make sure the RO-202S connections are tight.
Fig. 12
8
From the
connecting
assembly
Fig. 9
Fig. 10a
Service plug (supplied)
К2
Fig.11
To the drain
clamp
To the treated
water tap
Fig. 10b
K7BM
K1
