GAPOSA XQ5 Manuel de programmation rapide
Parcourez en ligne ou téléchargez le pdf Manuel de programmation rapide pour {nom_de_la_catégorie} GAPOSA XQ5. GAPOSA XQ5 3 pages.
1
2
3
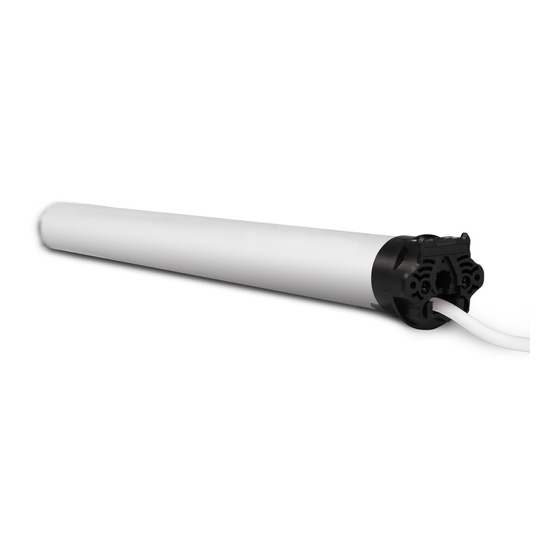
CONNECT POWER TO THE MOTOR
PROGRAMMING A TRANSMITTER
1 Press and hold the SYNC button on the back of the transmitter
or the white button on the head of the motor until the motor
starts moving
2 Check the motor rotation (UP or DoWN) then release the SYNC
button or the white button (the motor now stops)
3 Within 5 seconds, press the corresponding button (UP if the
motor turns upwards or DoWN if the motor turns downwards.)
This will set the direction of the motor. If the incorrect button is
pressed, the controls will be reversed. To fix, see Sec. 3.
Transmitter is now programmed
ADDING A NEW TRANSMITTER
When adding new transmitters, begin with the motor position
somewhere inbetween the two limits. This allows the motor to
have room to move, and allows the direction that the motor moves
to be discernible.
1 Press and hold the SYNC button on the back of a transmitter
ALREADY paired until the motor starts moving in one direction
2 Check the motor rotation (UP or DoWN) then release the SYNC
button (the motor now stops)
3 Within 5 seconds, press the corresponding button (UP if the
motor turns upwards or DoWN if the motor turns downwards)
on the NEW transmitter being added. This will set the direction
of the motor.
Additional transmitter is now added
CHECKING / CHANGING DIRECTION
To check the direction, press the UP or DoWN button. The motor
will go UP or DoWN accordingly, if the direction needs to be
changed:
1 Press and hold the SYNC button on the back of transmitter until
the motor starts moving
2 Press the STOP button; the motor makes a brief jog. The direction
of the motor has been reversed
IMPORTANT: the change of direction procedure must be
performed before initiating the limit setting procedure,
otherwise limits will need to be reset
Programming Quick Guide
The buttons shown on the left are used to program the transmitters and specific channels.
The programing button's (buttons 4 and 5) locations can be placed differently depending
on the transmitter model. Shown in this guide is the Emitto Slim line transmitter.
5
4
UP (1)
SToP (2)
DoWN (3) the rolling shade/awning moves down
(Sec. 1)
(Sec. 2)
(Sec. 3)
the rolling shade/awning moves up
the rolling shade/awning stops
OFF
ON
OPTION 1
1
2
3
1
SYNC (4)
program the transmitter
LIMIT (5)
set limits
OPTION 2
2