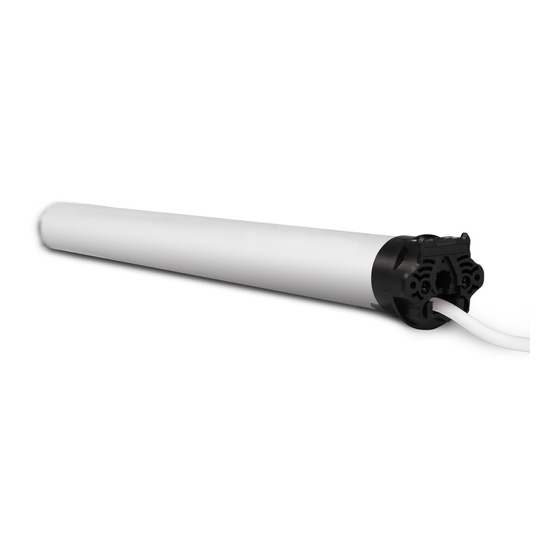
GAPOSA XQ5 Manuel de programmation rapide - Page 2
Parcourez en ligne ou téléchargez le pdf Manuel de programmation rapide pour {nom_de_la_catégorie} GAPOSA XQ5. GAPOSA XQ5 3 pages.

SETTING THE LIMITS
IT IS MANDATORY TO SET THE "UP" LIMIT
FIRST EVERY TIME
Run the motor to an intermediate position inbetween the two
desired limits. The motor needs to move in the direction of the
limit in order for the limit to be properly set.
1 Press and hold the LIMIT button on the back of transmitter until
the motor makes a brief jog
Note: during "limit setting mode" the operations are in
"deadman control" (The UP and DoWN buttons must be held
down inorder for the motor to move.)
2 Press and hold the UP button and run the motor to the desired
UP limit position.
3 Press the SToP button to set the UP limit position. The motor
makes a brief jog to confirm.
4 Press and hold the DoWN button and run the motor to the
desired DoWN limit position
5 Press the SToP button to set the DoWN limit position.
The motor makes a brief jog to confirm.
Note: Accurate limit setting can be performed by pressing the
LIMIT button a second time: the motor will then will reduce
its output speed, moving slowly in steps towards the desired
limit. Always press the SToP button to set the limit position.
SETTING THE LIMITS INDIVIDUALLY
If the limits need to be changed after the initial limit setting
procedure, it is possible to change the limit positions individually.
One limit can be set without the other limit needing to be set. The
motor can be in any postion to initiate the procedure.
TO CHANGE THE UP LIMIT:
1 From any point between the existing limits, press and hold both
the LIMIT button and the UP button until the motor makes a brief
jog.
Note: during "limit setting mode" the operations are in
"deadman control" (The UP and DoWN buttons must be held
down inorder for the motor to move.)
2 Press and hold the UP button until the desired new UP limit is
reached.
3 Press the SToP button to set the limit. The motor makes a brief jog
to confirm. The new UP limit is set.
TO CHANGE THE DoWN LIMIT:
1 From any point between the existing limits, press and hold both
the LIMIT button and the DoWN button until the motor makes a
brief jog.
Note: during "limit setting mode" the operations are in
"deadman control" (The UP and DoWN buttons must be held
down inorder for the motor to move.)
2 Press and hold the DoWN button until the desired new DoWN
limit is reached
3 Press the SToP button to set the limit. The motor makes a brief
jog to confirm. The new DoWN limit is set.
(Sec. 4)
(Sec. 5)
1
2
3
4
5
1
2
1
2
3
3
