Panasonic AW-HS50 Series Manuel de démarrage rapide - Page 3
Parcourez en ligne ou téléchargez le pdf Manuel de démarrage rapide pour {nom_de_la_catégorie} Panasonic AW-HS50 Series. Panasonic AW-HS50 Series 6 pages. Combining pinp
Également pour Panasonic AW-HS50 Series : Manuel (20 pages), Brochure & Specs (4 pages), Manuel (4 pages), Manuel (2 pages), Manuel de démarrage rapide (4 pages)
② Set the information for connection with AW-HS50.
Menu: (10) SYSTEM > [3] SW CTL => [Network]
③ Enable the link with AW-HS50
Menu: (9) SETUP > [2] SW LINK => [On]
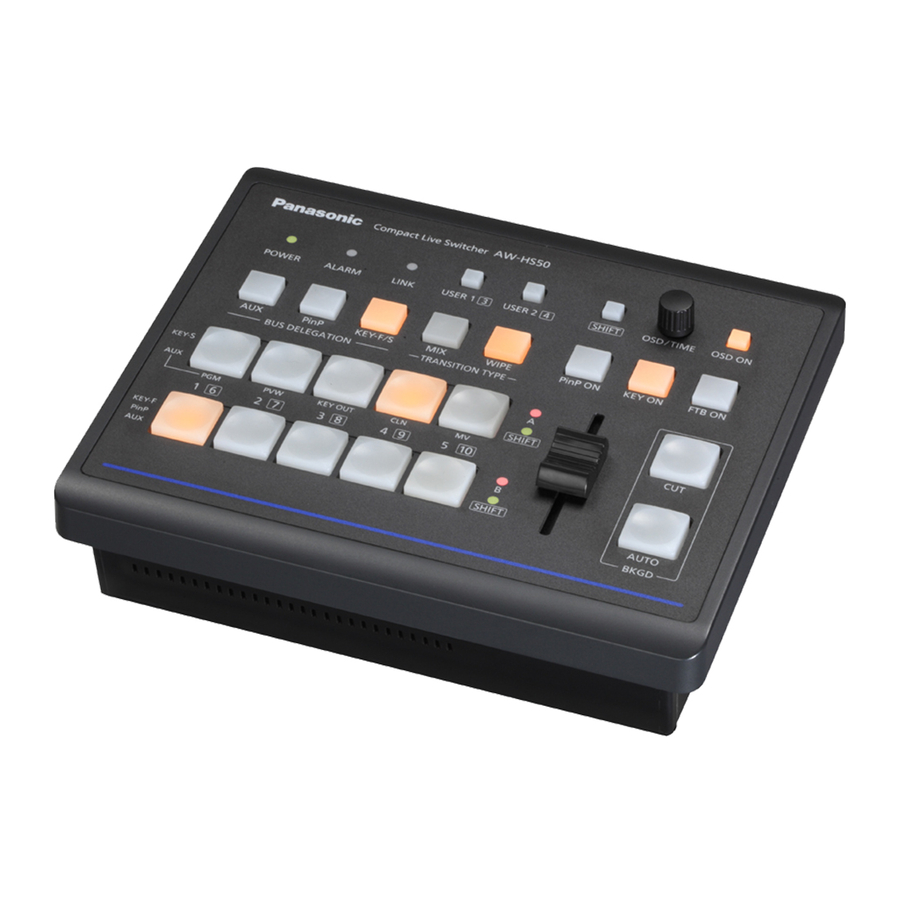
When the above configuration of AW-HS50 and AW-RP50 is completed, "LINK" lamp on AW-HS50 Control Panel –
(Fig.4) lights up in green and the linked-up functions are ready for use.
(Figure 4: AW-HS50 Control Panel)
④ Set up the remote cameras to correspond to the video inputs on AW-HS50.
(On AW-RP50, SDI IN 1 – 4 are indicated as INPUT1 – 4, DVI-IN as INPUT5.)
According to this set-up, if one of the cameras that have been set up is selected using AW-RP50, AW-HS50
receives the information of selection.
Menu: (10) SYSTEM > [4] SW ASSIGN => 1. INPUT1 – 5. INPUT5 => [CAM1 – CAM100]
* For example, if a video output from the remote camera connected to AW-RP50 [CAM10] is sent into AW-HS50
INPUT3, when the above menu setting is set to "3. INPUT3 => [CAM10]", the image will be switched by
selecting this camera.
* Default: [NoAsign]
* Default: [Off]