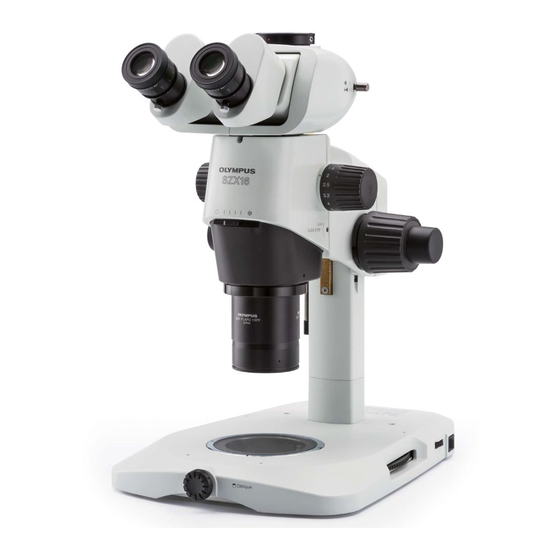
Olympus SZX16 Manuel d'instructions - Page 18
Parcourez en ligne ou téléchargez le pdf Manuel d'instructions pour {nom_de_la_catégorie} Olympus SZX16. Olympus SZX16 28 pages. Research high-class stereo microscope
Également pour Olympus SZX16 : Vue d'ensemble (24 pages), Manuel d'instructions (36 pages), Manuel d'instructions (40 pages)

Precise Centering of the Mirror
2
Mounting an ND Filter
|
²
5
15
8
9
a
Fig. 16
³
Indications
@
Fig. 17
}The position of the mirror has been adjusted and locked before shipment.
Only if you want more precise adjustment of the mirror position, proceed
to the following steps immediately after the procedure in the previous
paragraphs.
1. Using a pair of tweezers, etc., peel off the two blind stickers 9 on the rear
of the lamp housing.
2. Fit the Allen screwdriver into each of the screws hidden below the stickers
and loosen them. Loosening the two screws releases the locking of the
mirror.
3. Peel off other two blind stickers a to expose the mirror centering holes.
4. Insert the Allen screwdriver into the screw in each mirror centering hole
and adjust the centering of the mirror arc image.
Before mounting the ND filters, be sure to turn off the mercury burner
and confirm that the shutter slider is cooled down.
1. Remove the knob @ from the shutter slider ² and pull out the slider.
2. Remove the ring spring ³ from one of the slider positions.
3. Place the required ND filter | (32ND6, 12, 25 or 50) in either filter position
so that the indication surface of the filter faces downward, and fix the filter
with ring spring ³.
}If two ND filters are mounted in both filter positions, it would become
impossible to obtain the 100% illumination light.
# If the filter is inserted upside down, it may crack due to the heat from
the light source.
4. Return the shutter in the original position so that the click grooves 5
come downside, and attach the knob @.
(Fig. 17)
