Cisco ATA 186 Configuration - Page 16

Parcourez en ligne ou téléchargez le pdf Configuration pour {nom_de_la_catégorie} Cisco ATA 186. Cisco ATA 186 28 pages. Analog telephone adaptor
Également pour Cisco ATA 186 : Fiche technique (7 pages), Vue d'ensemble (11 pages), Manuel de synthèse (11 pages), Manuel de configuration (8 pages), Manuel de l'utilisateur (12 pages), Manuel d'installation et de configuration (13 pages), Instructions pour l'installation (6 pages), Configuration (6 pages)
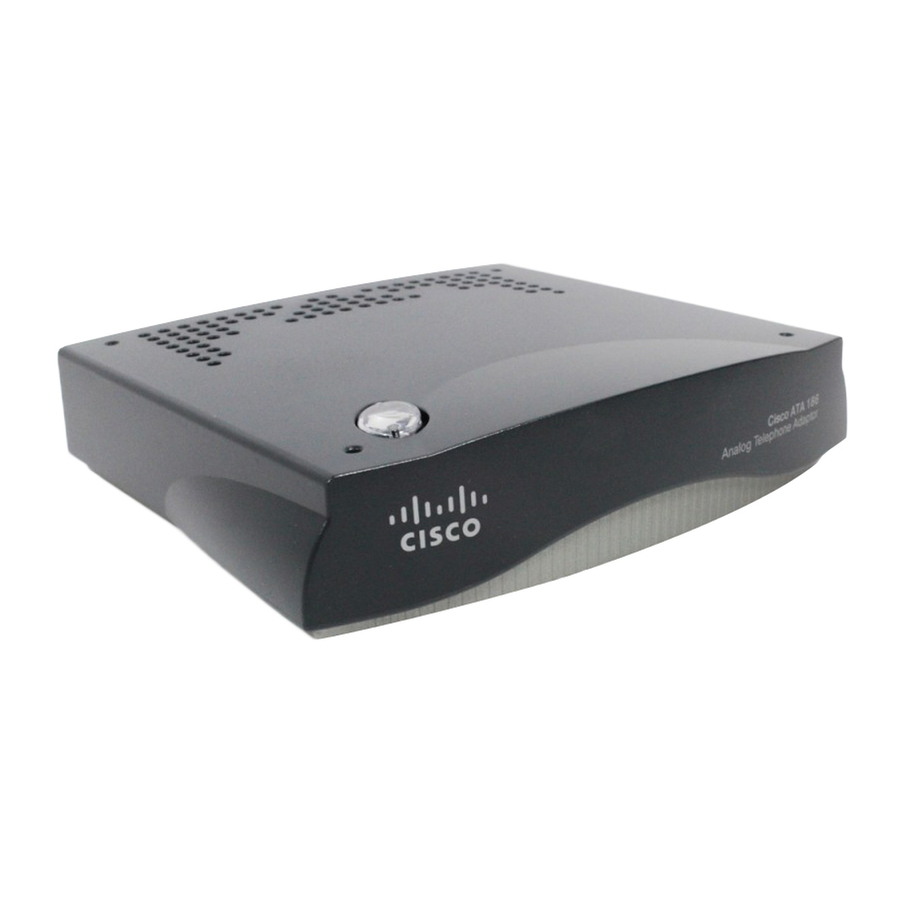
Cisco ATA 186 Configuration
Refer to the appropriate illustration and follow these steps to
install your ATA:
Procedure
Place the Cisco ATA near an electrical power outlet.
Step 1
Connect one end of a telephone line cord to the Phone
Step 2
1 input on the rear panel of the Cisco ATA. Connect the
other end to an analog telephone set.
If you are connecting a telephone set that was
previously connected to an active telephone line,
unplug the telephone line cord from the wall jack and
plug it into the Phone 1 input.
Warning
To reduce the risk of fire, use only No. 26 AWG or
larger telecommunication line cord.
16