Cisco ATA 186 Configurazione - Pagina 16

Sfoglia online o scarica il pdf Configurazione per Porta d'ingresso Cisco ATA 186. Cisco ATA 186 28. Analog telephone adaptor
Anche per Cisco ATA 186: Scheda tecnica (7 pagine), Panoramica (11 pagine), Panoramica del manuale (11 pagine), Manuale di configurazione (8 pagine), Manuale d'uso (12 pagine), Manuale di installazione e configurazione (13 pagine), Istruzioni per l'installazione (6 pagine), Configurazione (6 pagine)
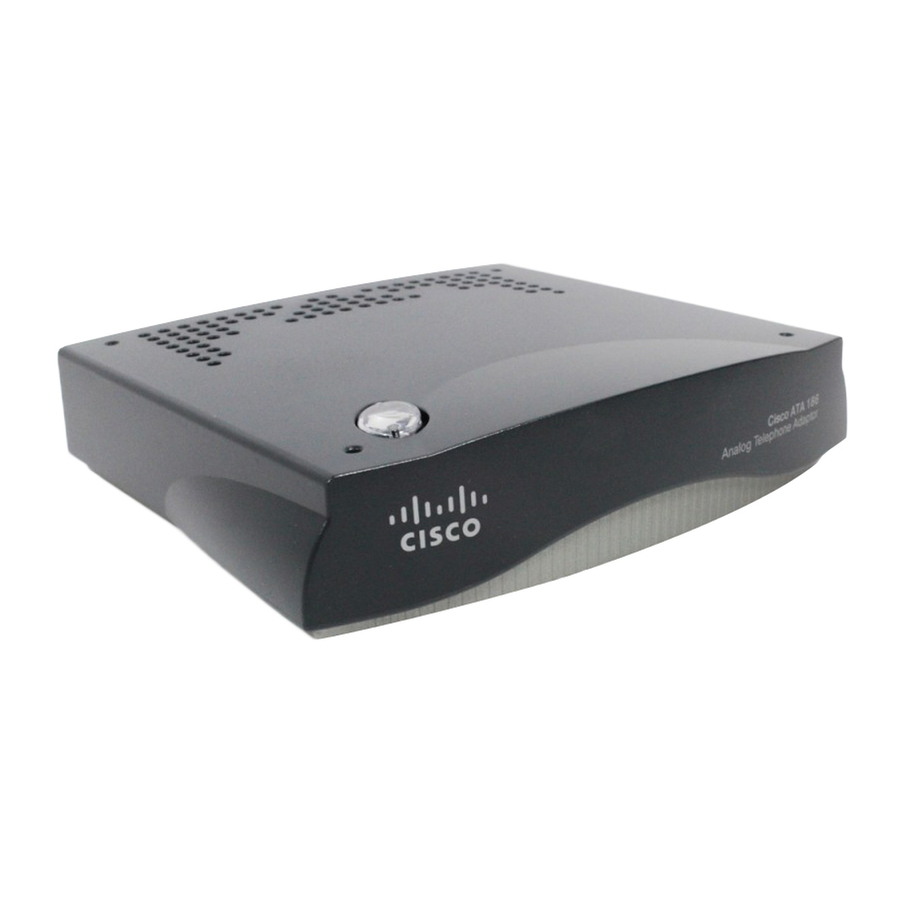
Cisco ATA 186 Configurazione
Refer to the appropriate illustration and follow these steps to
install your ATA:
Procedure
Place the Cisco ATA near an electrical power outlet.
Step 1
Connect one end of a telephone line cord to the Phone
Step 2
1 input on the rear panel of the Cisco ATA. Connect the
other end to an analog telephone set.
If you are connecting a telephone set that was
previously connected to an active telephone line,
unplug the telephone line cord from the wall jack and
plug it into the Phone 1 input.
Warning
To reduce the risk of fire, use only No. 26 AWG or
larger telecommunication line cord.
16