Xerox Phaser 7300DN Manuel papier - Page 13

Parcourez en ligne ou téléchargez le pdf Manuel papier pour {nom_de_la_catégorie} Xerox Phaser 7300DN. Xerox Phaser 7300DN 34 pages. Quick reference guide
Également pour Xerox Phaser 7300DN : Manuel de dépannage (40 pages), Caractéristiques (1 pages), Brochure & Specs (4 pages), Manuel de l'utilisateur (50 pages), Caractéristiques Manuel (40 pages), Manuel de soutien (28 pages), Manuel de configuration (18 pages), Manuel de configuration et de référence rapide (45 pages)
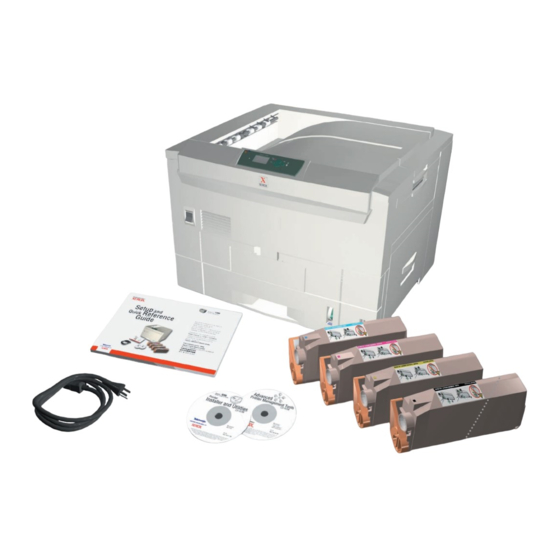
Xerox Phaser 7300DN Manuel papier
4.
When the front panel prompts you and you haven't changed the type or size of paper, press the
OK key to accept the current settings for type and size.
5.
If you have changed the type or size of paper:
a.
On the printer's front panel, scroll to
the OK key.
b.
Scroll to the correct paper type and press the OK key to save your selection.
c.
Scroll to the correct paper size and press the OK key to save your selection.

Using custom size paper

In addition to the wide variety of paper sizes available for this printer, you can use custom size paper.
Depending on the size, custom size paper can be loaded in Tray 1 or the Multi-Purpose Tray (as
described on page 11).
X dimension
Y dimension
Note
After you load a custom size paper in any of this printer's trays, you MUST set the front
panel values to agree with the paper you have loaded.
Note
Banner paper (paper over 18 inches (450 mm) long must be loaded into the Multi-Purpose
Tray. You MUST use the Left Side Output Tray for output. See "Output Trays" on page 26.
Phaser® 7300 Color Printer
Change
Tray 1
148 mm - 328 mm
5.83 in. - 12.60 in.
148 mm - 457 mm
5.83 in. - 18 in.
(by pressing the Down Arrow key) and press
OK
6200-45
Multi-Purpose Tray
105 mm - 328 mm
4.13 in. - 12.60 in.
148 mm - 914 mm
5.83 in. - 36 in.
Trays
8