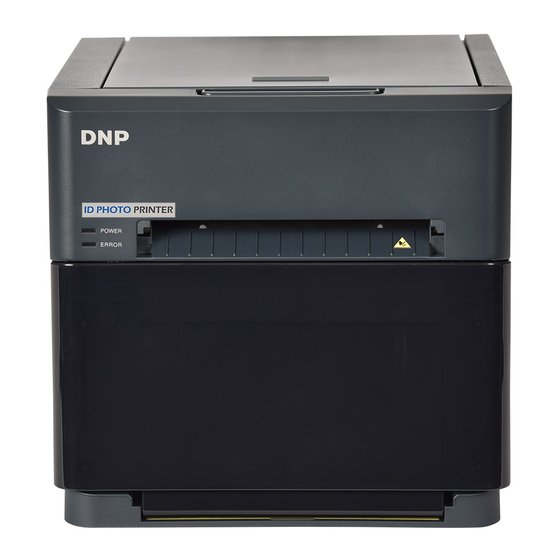
DNP IDW520 Manuel de démarrage rapide - Page 5
Parcourez en ligne ou téléchargez le pdf Manuel de démarrage rapide pour {nom_de_la_catégorie} DNP IDW520. DNP IDW520 17 pages. Id photo system
Également pour DNP IDW520 : Manuel de démarrage (17 pages)

IDW520 Photo ID System
Set Up your Printer
• Unpack the printer. Remove any
packaging foam or tape from the
outside of the printer.
• Connect your printer. Make sure
your printer is powered OFF. Connect
a USB cable to the type-B (small)
USB port (yellow circle) and to the
rear bottom console port.
• Connect the power cord to the printer
(blue circle) and plug it into a wall
outlet.
• Power ON the printer.
Install the Paper
• Prep the paper compartment. Remove the scrap bin and set it aside.
Remove the paper spools from the printer, located behind the scrap bin.
Note: The first time you set up your printer, make sure there are no spacers
on the paper spools. Rotate the spacer to unlatch it, compress the paper
spool tensioners, and slide the spacer off the spool. Repeat for the other
spool. The spacers are not used with the IDW paper 4.5" paper rolls.
• Mount the paper roll onto the paper
spools. Make sure the paper roll is oriented
so that the leading edge of the paper roll is
coming over the top of the paper roll and
directed towards the front and bottom of the
paper roll.
• Set the paper in the printer. Place the
mounted paper roll into the printer paper
compartment. Remove the seal on the paper.
• Feed the paper into the printer. Feed the
paper so that the paper comes over the top
of the roll and into the bottom of the printer
paper compartment. Continue feeding the
paper until the printer beeps. The ERROR
LED changes from flashing red and orange
to flashing red.
• Replace the scrap bin. Reset the scrap bin
in the printer.
5
