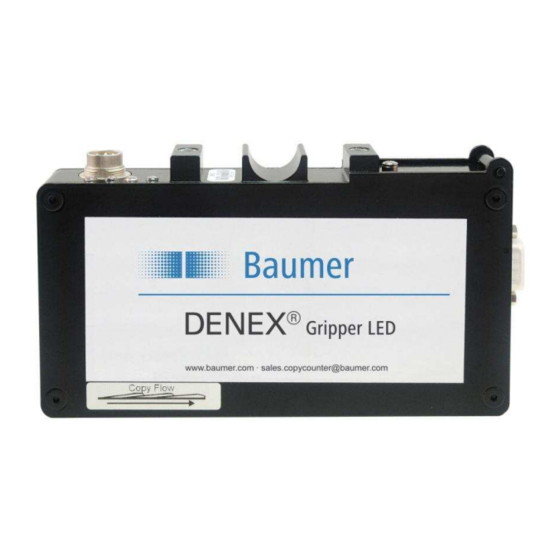
Baumer DENEX Gripper LED Panduan Pengguna - Halaman 16
Jelajahi secara online atau unduh pdf Panduan Pengguna untuk Aksesori Baumer DENEX Gripper LED. Baumer DENEX Gripper LED 24 halaman.

9
ACCESSORIES AVAILABLE FROM DENEX
There are a number of accessories available from Baumer that can save you time and
ensure a good operation of the sensor. Kits for replacing mechanical or older sensors are
available. See web site
information.
9.1
Conversion kits
Order a Ferag Finger to Gripper LED Conversion Kit from Baumer to make the installation
quick and easy.
For TTR: Part. No. 11084181 (formerly 51G6040) or
For UTR: Part. No.11084159 (formerly 51G6050)
Full instruction is included in the kit containing bracket and cable.
9.1.1 Exchanging Ferag-Finger with Baumer proximity switch
Check the type (NPN or PNP) of Ferag-Finger that is used.
Check the type (NPN or PNP) of Baumer that is used.
Wire according to chapter 5.
• If the output is inactive (0V on the output) when no papers are present and the Baumer
is inactive when no Gripper is close to it Use Mode 2.
• If the output is active (LED is ON at the Finger) when no papers are present and the
Baumer is inactive when no Gripper is close to it Use Mode 3.
• If the output is inactive (0V on the output) when no papers are present and the Baumer
is active when no Gripper is close to it Use Mode 4.
• If the output is active (LED is ON at the finger) when no papers are present and the
Baumer is active when no Gripper is close to it Use Mode 5.
Wire the DENEX Gripper LED Output Cable either for current source or current sink,
depending on the Ferag input stage.
User Manual DENEX Gripper LED
Version 2013-02, V1.4
www.baumer.com
or
www.denex.com
16/24
www.baumer.com
for more updated
Baumer Electric AG
Frauenfeld, Switzerland
