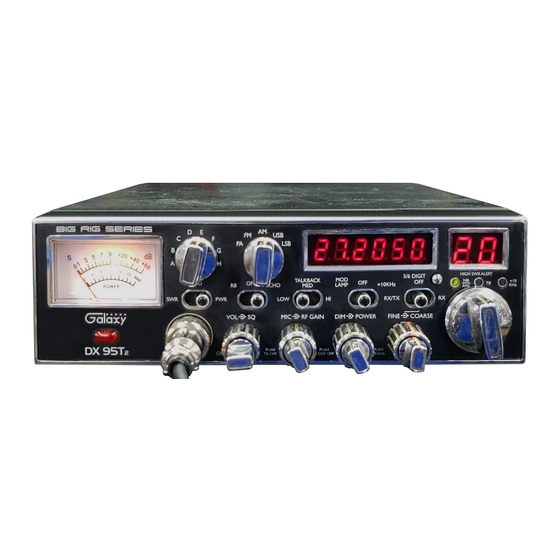
Galaxy DX95T2 Panduan Pemilik - Halaman 4
Jelajahi secara online atau unduh pdf Panduan Pemilik untuk Transceiver Galaxy DX95T2. Galaxy DX95T2 9 halaman. 10 meter amateur mobile transceiver with built-in frequency counter & starlite face plate

CHAPTER 2 INSTALLATION
INSTALLING THE RADIO
Choose a convenient location for operation that does not interfere with driver or
passenger. This radio is supplied with a universal mounting bracket. When
mounting the bracket and radio to your car, make sure it is mechanically strong.
Also, provide a good electrical grounding connection to the chassis of vehicle.
Proceed as follows to install the radio.
1. Locate a convenient area in your vehicle for the installation of the radio. Hold
the mounting bracket with the radio in the location where the radio is to be
installed. Make sure nothing will interfere with either the radio or the
mounting bolts. Mark and then drill holes for the mounting bracket.
2. Most radio antennas come equipped with a PL-259 plug. Connect this plug to
the ANT. Jack in the rear of the radio.
3. Extending from the rear of the radio is a fused red and black wire for the DC
connections to the vehicle's electrical
strongly recommended that the red lead be taken directly to the positive
terminal on the vehicle's
chassis ground. (Note: This radio is designed for vehicles with negative
ground systems.)
Connections should be made using appropriate "c
enough to make good contact with the bolt used to fasten to the battery and the
chassis ground. It is a good safety id ea to install a second fuse that would
provide protection in case the red wire was to"f
to the body of the vehicle, somewhere between the battery and the radio.
High power radios such as this one require large DC current flow when in the
TX mode. Poor power connections cause supply voltage drops that can
substantially decrease the performance of your radio. A good DC connection is
probably one of the most important things for getting the best transmitter
performance and in some cases, least receiver noise.
4. Mount the microphone bracket near the radio in an easily accessible spot using
the two screws provided.
system. For best performance, it is
bat
tery and the
black lead be connected to the nearest
ray"
3
rim
p on"plugs of a size large
or get pinched and short
