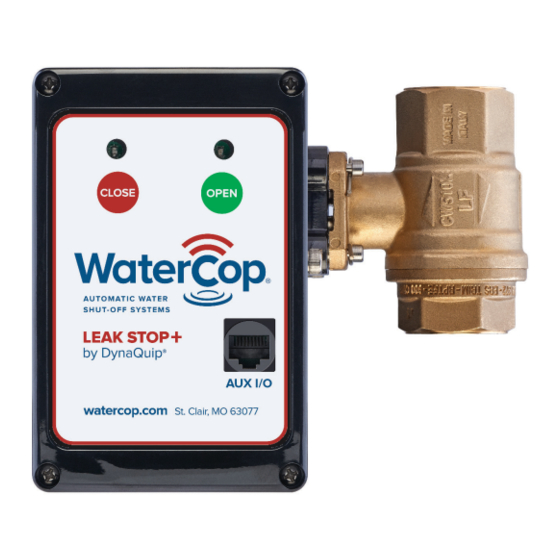
DynaQuip WaterCop LEAK STOP+ Panduan Pemilik dan Panduan Instalasi - Halaman 2
Jelajahi secara online atau unduh pdf Panduan Pemilik dan Panduan Instalasi untuk Unit Kontrol DynaQuip WaterCop LEAK STOP+. DynaQuip WaterCop LEAK STOP+ 13 halaman.

Quick Start
1. Select installation location of valve, just upstream from inlet of water
appliance making sure the sensors can reach the ground
2. Using compression or solder fi ttings, install brass valve into inlet pipe
3. Mount Leak Stop
4. Apply power to Leak Stop
5. Place sensors in areas where water would begin to accumulate
6. Test and restore to ready status
7. Please read entire manual and save for future maintenance reference
System Overview
WaterCop® Leak Stop
single location and automatically shuts off the water supply to that same
location. Early leak detection coupled with automatic water shut-off is the
best way to prevent extensive water damage.
Support and Assistance
Contact DynaQuip Controls for technical support and installation assistance:
Toll-free: 1-800-545-3636 (M-F, 8 AM-5 PM Central Time)
email: [email protected]
General Safety Information
WARNING:
•
Do not apply electrical power to the unit unless the unit is fully assembled
(as it shipped). Failure to do so could result in personal injury and/or
damage to the unit.
•
Disconnect power source before working on or servicing the unit. Failure
to do so could result in personal injury.
+
•
Leak Stop
must be installed indoors. The ambient air temperature of
the Leak Stop
+
Leak Stop
to freezing temperatures or extreme heat.
2
+
control box on valve (see page 4)
+
control box
+
detects water leaks in your plumbing system at a
+
should be between 35˚ F and 105˚ F. Do not expose the
