Copernicus COP-IS2 Panduan Perakitan - Halaman 14
Jelajahi secara online atau unduh pdf Panduan Perakitan untuk Peralatan Pendidikan Copernicus COP-IS2. Copernicus COP-IS2 16 halaman.
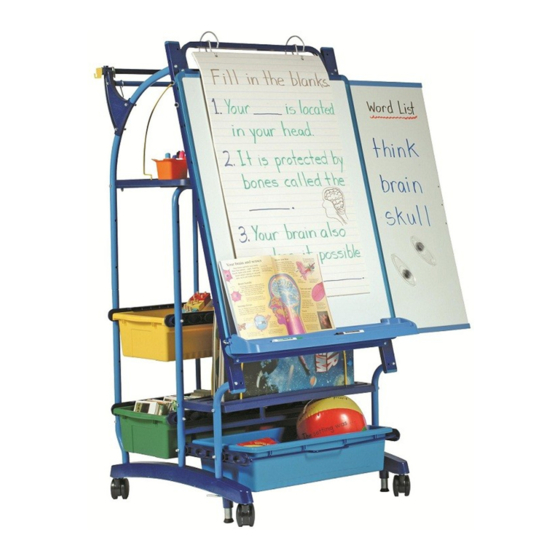
14
You will need:
Telescoping Rod x 2
Install Telescoping Rods
?
Slide Telescoping Rods into the left
and right side of the Square
Accessory Rod.
?
Insert Knobs into place on the
Accessory Rod. Loosening these will
allow for the rods to slide in or out,
while tightening them will hold the
rods at the desired location.
?
!
Ensure that the correct hook is on
the left and right side. Hooks should
face towards the back of the unit.
Actual Size:
15
You will need:
Front Channel x 2
1 Left, 1 Right
Install Front Channels
?
!
Identify the right and left Front
Channels
?
Align the Front Channels with the
bottom holes on the Middle and
Front Frame
?
It may help to loosely install first,
and tighten once both bolts are
through the part.
?
(Not to Scale)
D
E
x 4
x 4
(Not to Scale)
IS2 - Version E - Released 22 June 2010 - Copernicus Educational Products Inc.
Knob x 2
G
x 4
Top
!
Bottom
Right Side
E
G
D