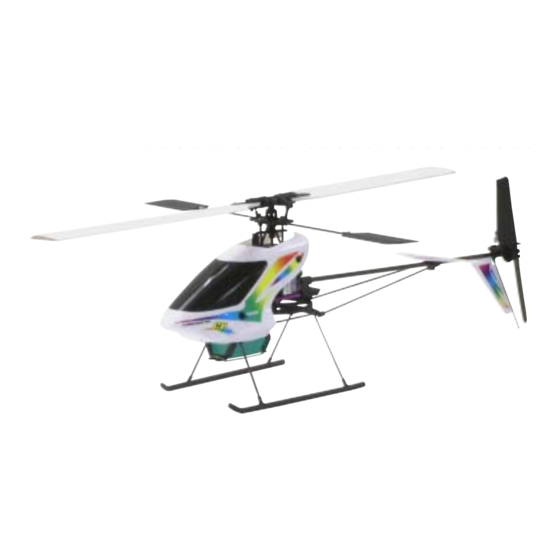
Century Helicopter Products Hummingbird Elite Series CP Buku Petunjuk - Halaman 8
Jelajahi secara online atau unduh pdf Buku Petunjuk untuk Mainan Century Helicopter Products Hummingbird Elite Series CP. Century Helicopter Products Hummingbird Elite Series CP 12 halaman. Elite series helicopter

Section 5
Section 5
Section 5
Section 5
Section 5
INSTALLING ELECTRONICS TO YOUR HUMMINGBIRD ELITE
The electronics used to operate the Hummingbird Elite helicopter install with servo tape.
This will securely mount the electronic components to the frame of the helicopter for proper
operation. Be sure that the diagram on page 4 reflects the wiring connections that you
make to the mounted model. (note: the below photos are an example layout)
1
1. Mount the mixer board.
4
4. Plug in channel 1 for aileron servo.
7
7. Plug mixer rudder lead into gyro
(signal wires must face each other).
ROUTING THE ANTENNA
To provide the best possible reception for the model, the Hummingbird Elite comes with a plastic tube for
routing the antenna. Put a small hole in one end and pull the antenna all the way through leaving about 2
to 3 inches of slack. Wrap the antenna around the tube. After the antenna is almost completely wrapped
around the plastic tube place a hole at the other end of the tube to secure the end of the antenna. The
Hummingbird Elite series helicopters have brackets in the landing gear for mounting this plastic tube.
Place a hole
here using a
thumb tack.
MOUNTING THE BATTERY
The Hummingbird uses a NiMH battery. Both 8.4V and 9.6V Bird Seed batteries will work and fit in
the provided battery brackets using a rubber band.
1. The battery slides back and forth on it's supports so you can adjust the center of gravity on the
helicopter.
2. To test your results hold the helicopter by the flybar as pictured. Move the batery to have the
helicopter sit level or very slightly nose heavy.
Battery
brackets
Rubber
band
8
R R R R R adio inst
adio inst
adio inst
adio install
adio inst
ba
ba
bat t t t t tery mounting
tery mounting
tery mounting
ba
ba
tery mounting
tery mounting
2
2. Mount the gyro (mount the gyro with
the word "Century" oriented as pictured).
5
5. Plug in channel 2 for elevator servo.
8
8. Plug gyro into channel 4 for rudder.
2
alla a a a a tion and
all
all
tion and
tion and
tion and
all
tion and
3
3. Mount the receiver.
6
6. Plug in channel 3 for throttle (mixer board).
9
9. For CP Hummingbird plug 3rd servo
(collective pitch) into channel 6.
Place a hole
here using a
thumb tack.
BREAKING IN THE 370 MOTOR
Items required:
1x cup of water
2x D-cell batteries
1x series 3-volt D cell battery
holder (example: Radio Shack
part number
270-386A)
1x (Optional) female connector
1
First remove the main motor by
locating and removing the two mounting screws under
the main chassis. Immerse the motor in a cup of water.
Connect the motor to the 3 volt battery holder Red wire
to red wire black wire to black wire. (Tip – a female
connector can be attached to the battery box for quick
connection to the motor). Install batteries and Run
motor for four minutes to a maximum of five minutes.
Remove motor from water immersion and dry. Place
one drop of light oil (CN2024T Tri-Flow oil) on each
brass bushing for lubrication. Reinstall motor checking
carefully for smooth gear mesh.
(This procedure is only required to be performed once
and only on a new motor).
Warning: Breaking in the motor is not "required"
Manufacturer is not responsible for problems related
with motor break-in.
Servo tape
Helpful Hint
Helpful Hint
Helpful Hint
Helpful Hint
Helpful Hint
