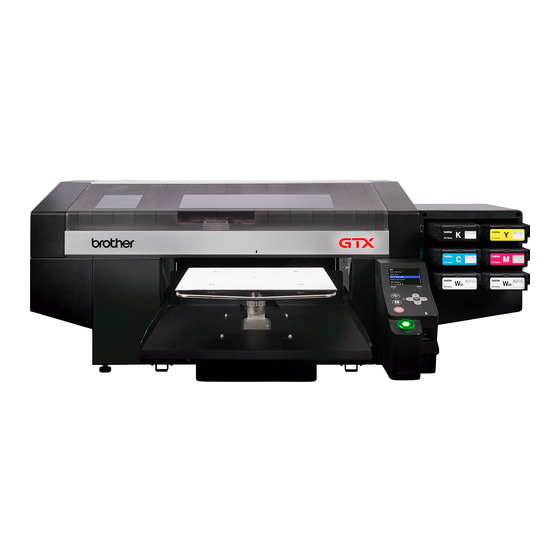
Brother GTX Panduan Referensi Pengguna - Halaman 11
Jelajahi secara online atau unduh pdf Panduan Referensi Pengguna untuk Printer Brother GTX. Brother GTX 16 halaman. Step by step photo instructions
Juga untuk Brother GTX: Panduan Membongkar Kemasan (17 halaman), Perakitan Dudukan (5 halaman)

MAINTENANCE PARTS CLEANING & REPLACING PROCEDURES
WARNING
W
E
Always use this menu to perform cleanings or replace parts:
Menu
>
Maintenance
WIPER CLEANER REPLACEMENT
1
Simply remove the old Wiper Cleaner by lifting it up. Replace with a new one.
FLUSHING FOAM REPLACEMENT
1
Lift up the flushing receivers
and place them on a waste
cloth to avoid dripping ink.
FAN FILTER REPLACEMENT
MAINTENANCE PARTS EXCHANGE
In case of Warning/Error messages please follow the
ERROR
following procedures:
Maintenance Part Clean/Replace
>
2
2
Remove Flushing Foams and clean the
holes of the 2 receivers.
MESH
AIR FLOW
FINE
COARSE
and follow instructions on the display
>
MENU
MENU
OK
OK
Watch the Video: Replace the GTX Wiper Cleaner
3
Watch the Video: Flushing Foams Replacement
3
Check and clean where the retainer sits
on the maintenance unit to ensure ink is
not blocking drainage.
Install new foams and return the
receivers to their original location.
Watch a Video: Fan Filter Replacement
Remove the 2 Fan Filter holders from the
top rear of the printer.
Remove the old filters and install new Fan
Filters in two black Fan Filter holders.
Note: Face the coarse mesh side of the
Fan filter towards the inside of the printer
and the fine mesh side towards the
outside of the printer
.
11
