Fujitsu ETERNUS DX100 S3 Setup Manual - Halaman 5

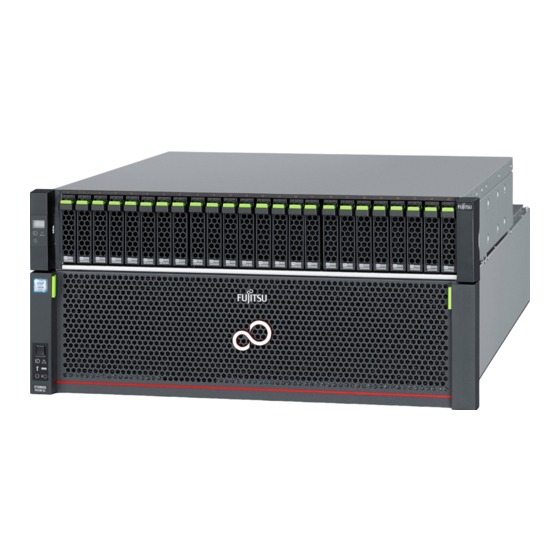
Jelajahi secara online atau unduh pdf Setup Manual untuk Penyimpanan Fujitsu ETERNUS DX100 S3. Fujitsu ETERNUS DX100 S3 15 halaman. Hybrid storage systems, all-flash arrays, power synchronized unit
Juga untuk Fujitsu ETERNUS DX100 S3: Konfigurasi Manual Koneksi Server (12 halaman), Konfigurasi Manual Koneksi Server (12 halaman), Panduan Konfigurasi (28 halaman), Panduan Konfigurasi (13 halaman), Tindakan Pencegahan Keselamatan (12 halaman)

Fujitsu ETERNUS DX100 S3 Setup Manual
3.
Install and fasten the high-density drive enclosure in the rack, and then attach the front cover.
Attach the cable management arm in the rear.
M5 screws
Front cover
(Rack pillar: front)
IMPORTANT

Cable Connection

STEP
Various cables need to be connected to the ports on the rear of the ETERNUS DX.
Configuration Guide (Basic)
Point
IMPORTANT
FUJITSU Storage ETERNUS DX100 S3/DX200 S3 Hybrid Storage Systems Setup Guide
M5 screws
For safety and stability, use a lifter to install or remove high-density drive enclosures in the rack.
To help with cable management and prevent incorrect connection, attach labels to the cables and make a
note of connection origins and destinations.
This step describes dual controller type as an example. Note that there is only controller 0 (CM#0) for single
controller type.
The cables should never be bent, twisted or pulled.
Some cables have static-sensitive electronic components. Wear an anti-static wrist strap or touch a metal
part to discharge the static electricity on your body before starting each operation. Failure to discharge static
electricity before touching the connectors may cause a device failure.
Copyright 2017 FUJITSU LIMITED
(Rack pillar: rear)
5
Pin
Cable
management arm
P3AM-7852-06ENZ0