Fujitsu ETERNUS DX100 S3 설정 매뉴얼 - 페이지 5
{카테고리_이름} Fujitsu ETERNUS DX100 S3에 대한 설정 매뉴얼을 온라인으로 검색하거나 PDF를 다운로드하세요. Fujitsu ETERNUS DX100 S3 15 페이지. Hybrid storage systems, all-flash arrays, power synchronized unit
Fujitsu ETERNUS DX100 S3에 대해서도 마찬가지입니다: 수동 서버 연결 구성 (12 페이지), 수동 서버 연결 구성 (12 페이지), 구성 매뉴얼 (28 페이지), 구성 매뉴얼 (13 페이지), 안전 주의사항 (12 페이지)
3.
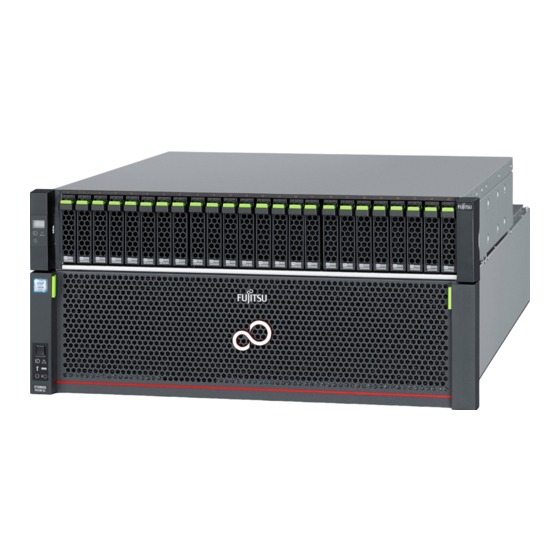
Install and fasten the high-density drive enclosure in the rack, and then attach the front cover.
Attach the cable management arm in the rear.
M5 screws
Front cover
(Rack pillar: front)
IMPORTANT
Cable Connection
STEP
Various cables need to be connected to the ports on the rear of the ETERNUS DX.
Configuration Guide (Basic)
●
Point
●
●
IMPORTANT
●
FUJITSU Storage ETERNUS DX100 S3/DX200 S3 Hybrid Storage Systems Setup Guide
M5 screws
For safety and stability, use a lifter to install or remove high-density drive enclosures in the rack.
To help with cable management and prevent incorrect connection, attach labels to the cables and make a
note of connection origins and destinations.
This step describes dual controller type as an example. Note that there is only controller 0 (CM#0) for single
controller type.
The cables should never be bent, twisted or pulled.
Some cables have static-sensitive electronic components. Wear an anti-static wrist strap or touch a metal
part to discharge the static electricity on your body before starting each operation. Failure to discharge static
electricity before touching the connectors may cause a device failure.
Copyright 2017 FUJITSU LIMITED
(Rack pillar: rear)
5
Pin
Cable
management arm
P3AM-7852-06ENZ0