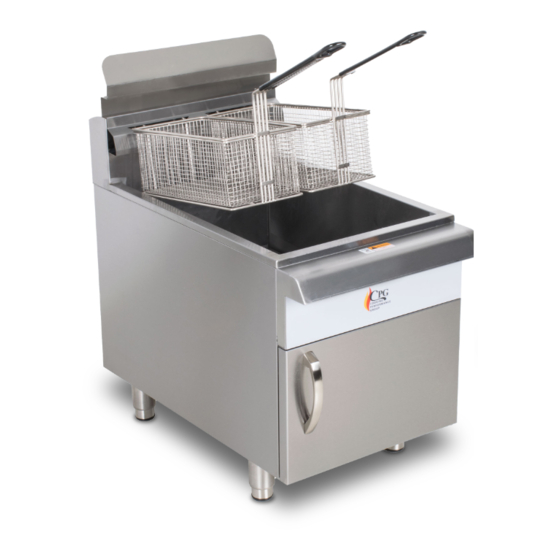
CPG 351FCPG15N Panduan Pengguna - Halaman 5
Jelajahi secara online atau unduh pdf Panduan Pengguna untuk Penggorengan CPG 351FCPG15N. CPG 351FCPG15N 11 halaman.

User Manual
USER MANUAL
Lighting Instructions
CPG Fryers are furnished with a Gas Control Safety Valve system . It is recommended that the following
steps be followed to ensure safe and optimal operation of your new CPG Fryer .
BEFORE LIGHTING PILOT AND BURNERS:
Fill the fat tank approximately ¾" below the full line with a proper frying compound prior to lighting the
pilot . By filling the tank ¾" below the full line, the tank is provided sufficient space to allow for the frying
compound to expand during the preheating phase . Provided frying compound would expand above the
full line, the frying compound may overflow out of the tank during the cooking process .
By adding frying compound in the fry tank prior to lighting the pilot or burner(s), it ensures that the unit
will not be damaged . Provided the above step is not followed, your CPG Fryer could be permanently
damaged .
Operating Instructions
CPG Fryers are furnished with a Gas Control Safety Valve system . It is recommended that the following
steps be followed to ensure safe and optimal operation of your new CPG Fryer .
1 .
Ensure gas control valve dial is turned to the
"OFF" position . (Fig . 1)
2 .
Ensure thermostat dial is in the
"OFF" position . (Fig . 2)
3 .
Turn gas control valve dial to "Pilot" position
and hold . Engage pilot ignition button . In order to
drain any air within the gas pipe system, for initial
use, hold the Valve dial in the "Pilot" position
for approximately 5-7 minutes until the pilot is
lit . Should the Gas Fryer pilot light not ignite,
safely hold an ignition source (i . e . match) toward
the pilot . When the flame has been established,
safely remove the Ignition source . (Fig . 3A-3B)
4 .
Turn gas control valve dial to "ON" position .
Using the thermostat dial, set the desired
temperature . Monitoring flame status can be
done with ease via through the panel featuring
circular holes . (Fig . 4)
www.CookingPerformanceGroup.com
Cooking Performance Group
FIG. 1
FIG. 3A
FIG. 4
https://www.cookingperformancegroup.com/
.
FIG. 2
FIG. 3B
5
