Dell Inspiron 600m Panduan Servis - Halaman 4

Jelajahi secara online atau unduh pdf Panduan Servis untuk Laptop Dell Inspiron 600m. Dell Inspiron 600m 40 halaman. Hard drive
Juga untuk Dell Inspiron 600m: Mulai di sini (2 halaman), Mulai di sini (2 halaman), Mulai di sini (2 halaman), Panduan Memulai (2 halaman), Panduan Pengguna (34 halaman), Setup Manual (2 halaman), Memulai (2 halaman), Setup Manual (2 halaman), Setup Manual (2 halaman), Setup Manual (2 halaman), Setup Manual (2 halaman), Setup Manual (2 halaman), Setup Manual (2 halaman), Setup Manual (2 halaman), Panduan Servis (41 halaman), Panduan Pengguna Media Base (26 halaman), Panduan Servis (41 halaman), Menginstalasi dan Mengkonfigurasi (38 halaman), Mulai Cepat (2 halaman), Mulai Cepat (2 halaman), Mulai Cepat (2 halaman), Menyiapkan Komputer Anda (2 halaman), Panduan Servis (41 halaman), Panduan Servis (4 halaman)
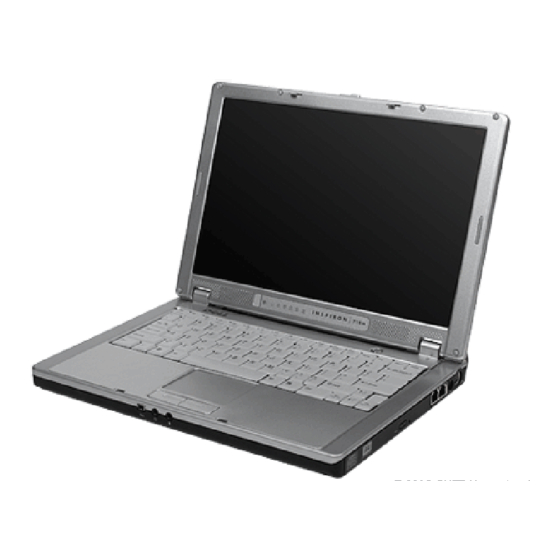
Dell Inspiron 600m Panduan Servis
3. If the computer is connected to a docking device (docked), undock it. See the documentation that came with your docking device for instructions.
NOTICE:
To disconnect a network cable, first unplug the cable from your computer and then unplug it from the network wall jack.
 
4. Disconnect any telephone or network cables from the computer.
 
5. Close the display and turn the computer upside down on a flat work surface.
NOTICE:
To avoid damaging the system board, you must remove the main battery before you service the computer.
 
6. Disconnect your computer and all attached devices from their electrical outlets, slide and hold the battery-bay latch release on the bottom of the
computer and remove the battery from the bay, and then press the power button to ground the system board.
 
7. Slide and hold the battery-bay latch release on the bottom of the computer, and then remove the battery from the bay.
1 battery latch release
 
8. Remove any installed PC Cards or blanks from the PC Card slot.
 
9. Remove the Secure Digital memory card, if installed, from the Secure Digital memory slot.
 
10. Remove any installed modules.
 
11. Remove the hard drive.
 Computer Orientation
1
front
2
left
3
back
4
right