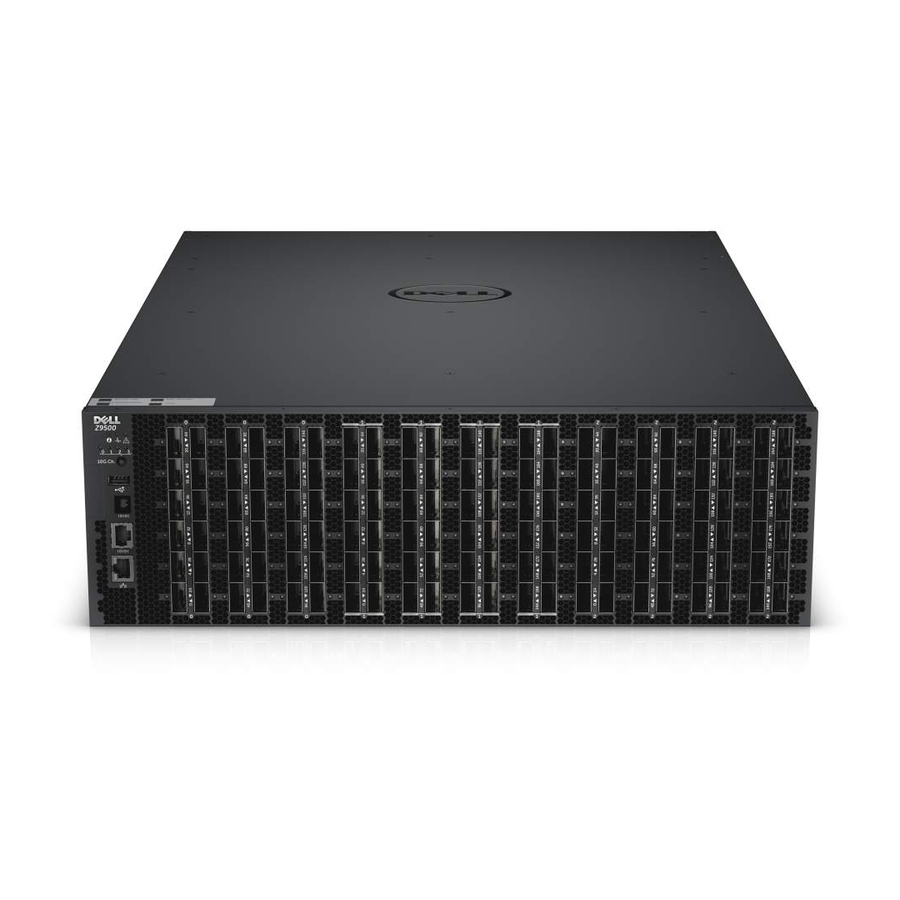
Dell Networking Z9500 Panduan Instalasi - Halaman 30
Jelajahi secara online atau unduh pdf Panduan Instalasi untuk Beralih Dell Networking Z9500. Dell Networking Z9500 47 halaman. Z9500 switch
Juga untuk Dell Networking Z9500: Panduan Memulai (34 halaman)

WARNING: Electrostatic discharge (ESD) damage can occur if components are mishandled.
Ground yourself by using an antistatic wrist strap or other device and connect it to the ESD
grounding jack on the chassis.
1.
Remove the PSU from the electro-static bag.
2.
Use the grab handle to slide the PSU into the switch PSU slot. The PSU slot is keyed so that the PSU
can be fully inserted in only one way. When you install the PSU correctly, it snaps into place and is
flush with the back of the switch.
Figure 8. Installing an AC Power Supply
1.
Release latch
CAUTION: Fan tray modules must be inserted before powering up the switch.
CAUTION: The switch has a high line-voltage requirement of minimum 200V.
30
2.
Slot 0 (for AC PSU 0)
Z9500 Installation
