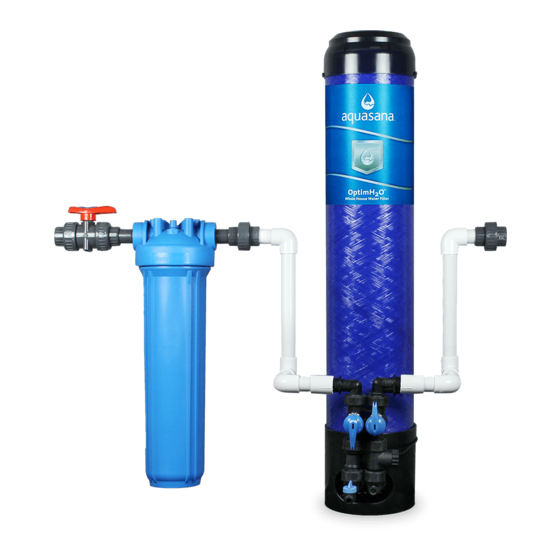
Aquasana OptimH2O AQ-RO-3 Panduan Pemilik - Halaman 10
Jelajahi secara online atau unduh pdf Panduan Pemilik untuk Sistem Penyaringan Air Aquasana OptimH2O AQ-RO-3. Aquasana OptimH2O AQ-RO-3 16 halaman. Whole house water filter
Juga untuk Aquasana OptimH2O AQ-RO-3: Panduan Pemilik (14 halaman), Panduan Pemilik (11 halaman), Panduan Pemilik (10 halaman)

8
INSTALLATION STEPS
9
Reattach Top Cap
1. Reposition the top cap into
its original location.
Final System Check
10
1. Once installation is complete, allow proper time for glue to dry
according to manufacturer instructions.
2. Push down on the red
depressurization button on the top
cap to relieve the system of air.
Keep the button pushed down as
you slowly turn the water back on.
DO NOT release the button until
all air pressure is fully released
and water comes out of the red
depressurization button.
3. Release the red button and inspect the system for leaks. After
inspecting for leaks, allow water to run through the system for 10
minutes for the final flushing period.
2. Reattach top tank snap ring. Pull up
on the top cap to seat the O-rings.
