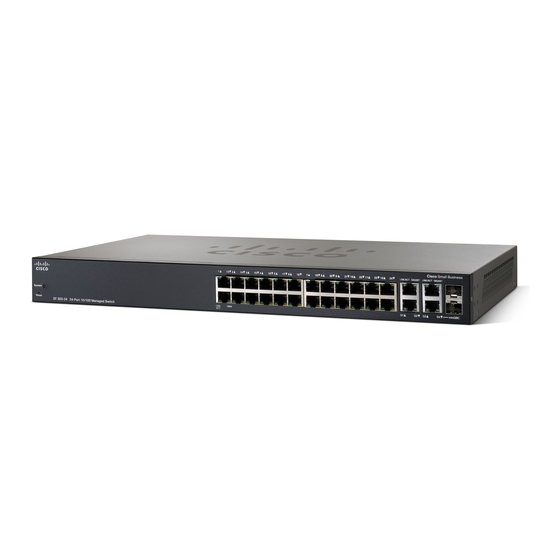
Cisco SG 300-10P Panduan Memulai Cepat - Halaman 11
Jelajahi secara online atau unduh pdf Panduan Memulai Cepat untuk Router Jaringan Cisco SG 300-10P. Cisco SG 300-10P 17 halaman. Managed switches
Juga untuk Cisco SG 300-10P: Lembar data (14 halaman), Spesifikasi (2 halaman), Panduan Pengaturan Cepat (10 halaman), Panduan Memulai Cepat (18 halaman), Panduan Memulai Cepat (17 halaman), Panduan Memulai Cepat (17 halaman)

- 1. Quick Start Guide
- 2. Mounting the Cisco Switch
- 3. Wall Mounting
- 4. Rack-Mount Placement
- 5. Connecting Network Devices
- 6. Power over Ethernet (Poe) Considerations
- 7. Managing Switch Using Web-Based Interface
- 8. Troubleshoot Your Connection
- 9. Front Panel Ports
- 10. Front Panel Leds
- 11. Additional Front Panel Features
- 12. Back Panel
- 13. Where to Go from here
Back Panel
The power port and console port are located on the back panel of the
managed switch.
Power—The Power port is where you will connect the switch to power.
Console—The Console port is where you can connect a serial cable to a
computers serial port for configuration using a terminal emulation program.
Returning the Device to the Factory
5
Default Settings
To use the
Reset
following:
• To reboot the managed switch, press the
seconds.
• To restore the managed switch configuration to the factory default
settings:
1. Disconnect the managed switch from the network or disable all
DHCP servers on your network.
2. With the power on, press-and-hold the
10 seconds.
300 Series Managed Switches
button to reboot or reset the managed switch, do the
Reset
button for less than 10
Reset
button for more than
11
