Cisco ATA 191 Panduan Pengguna - Halaman 10

Jelajahi secara online atau unduh pdf Panduan Pengguna untuk Perangkat Keras Jaringan Cisco ATA 191. Cisco ATA 191 30 halaman. Analog telephone adapter
Juga untuk Cisco ATA 191: Panduan Pengguna (30 halaman), Panduan Administrasi (4 halaman), Panduan Pengguna (10 halaman), Memulai (8 halaman), Manual (10 halaman), Panduan Memulai Cepat (13 halaman), Setup Manual (6 halaman), Panduan Pengguna (40 halaman)
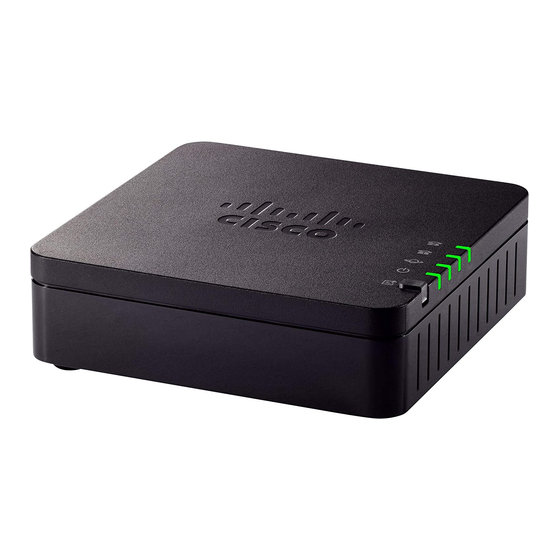
Cisco ATA 191 Panduan Pengguna

Mount Your ATA

If connecting a fax machine, connect it directly to the ATA. Do not connect an extension to a fax machine,
and do not use a splitter.
Step 3
(Optional) If you have a second analog device, connect the phone cable to the PHONE 2 port on the ATA
and to your second analog device.
Step 4
Connect the ATA power cable to the DC 5V POWER port on the ATA, and plug the power cable into your
power source.
Mount Your ATA
You can place the ATA on a desktop or mount it on a wall.
Caution

Desktop Placement

Place the ATA on a flat surface near an electrical outlet.
Cisco ATA 191 Analog Telephone Adapter User Guide for Cisco Unified Communications Manager
6
To prevent the ATA from overheating, do not operate it in an area that exceeds an ambient temperature of
104°F (40°C).
Get Started with Your New ATA