Cisco ATA 191 Panduan Pengguna - Halaman 9

Jelajahi secara online atau unduh pdf Panduan Pengguna untuk Perangkat Keras Jaringan Cisco ATA 191. Cisco ATA 191 30 halaman. Analog telephone adapter
Juga untuk Cisco ATA 191: Panduan Pengguna (30 halaman), Panduan Administrasi (4 halaman), Panduan Pengguna (10 halaman), Memulai (8 halaman), Manual (10 halaman), Panduan Memulai Cepat (13 halaman), Setup Manual (6 halaman), Panduan Pengguna (40 halaman)
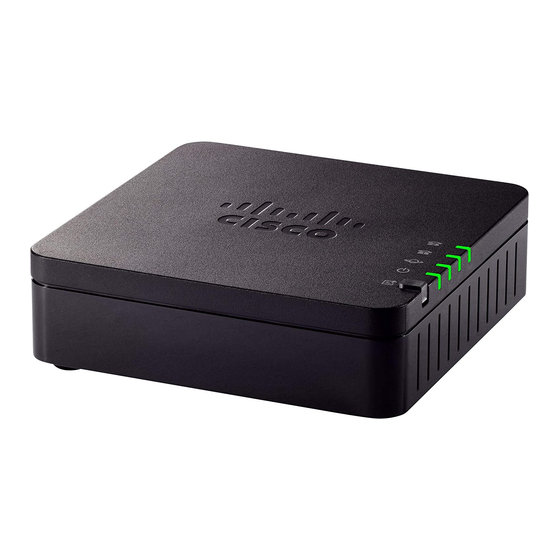
Cisco ATA 191 Panduan Pengguna
Get Started with Your New ATA

Install your new ATA

Your ATA comes with everything to power it up, connect it to the network, and set it up on your desk.
Before you begin
Before you begin the installation, make sure you have the following equipment:
• Ethernet cable to connect to your network.
• Analog phone or fax machine to connect to your ATA.
• Phone cable to connect your phone.
• Uninterruptible power supply (UPS) to provide backup power.
Procedure
Step 1
Connect the network cable to your network and to the NETWORK port on the ATA.
Step 2
Connect the phone cable to the PHONE 1 port on the ATA and to your analog device (phone or fax machine).
• Data devices, such as facsimile machines and modems, may not function optimally. For the best
fax and modem performance, continue to use a dedicated PSTN line.
Cisco ATA 191 Analog Telephone Adapter User Guide for Cisco Unified Communications Manager
Install your new ATA
5