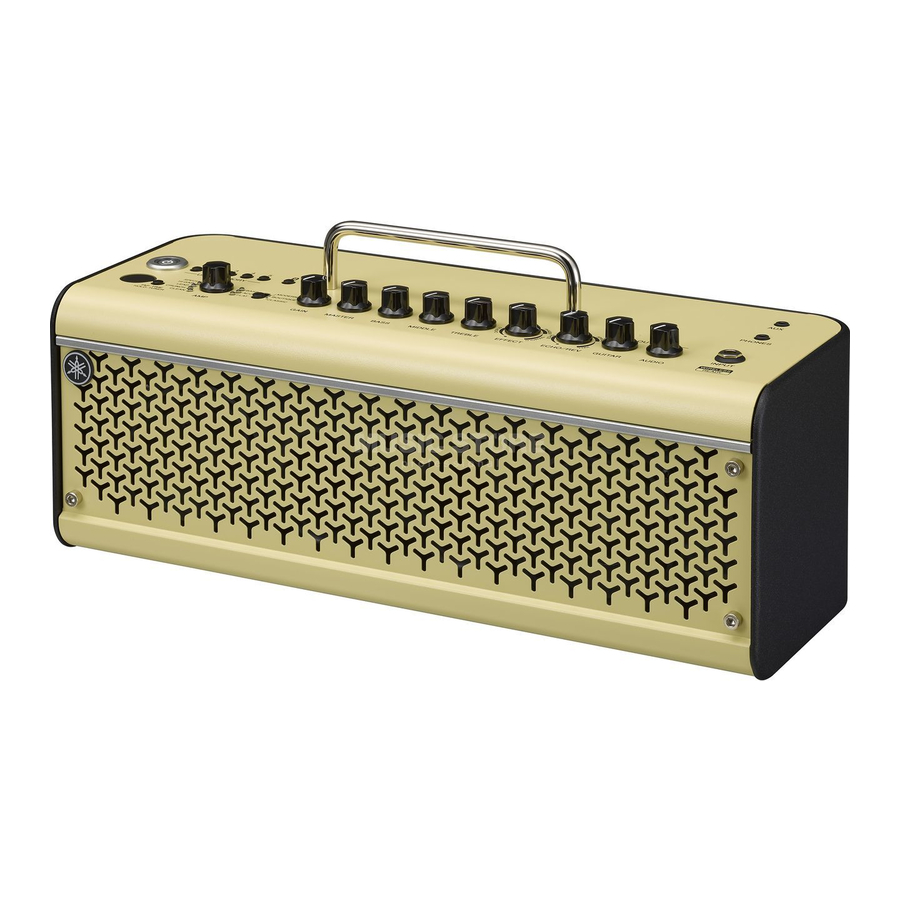
Yamaha THR10II Wireless Panduan Referensi - Halaman 5
Jelajahi secara online atau unduh pdf Panduan Referensi untuk Penguat Yamaha THR10II Wireless. Yamaha THR10II Wireless 20 halaman.
Juga untuk Yamaha THR10II Wireless: Panduan Cepat (2 halaman)

!2 [ECHO /REV] knob
Selects one of four different effects: ECHO (tape echo), ECHO/REV (tape echo/reverb), SPRING (spring
reverb), and HALL (hall reverb).
Turn the knob to the right to increase the amount of each effect.
* Turn the knob fully to the left to set the effect OFF.
* When ECHO or ECHO/REV is selected, the [TAP/TUNER] button
!3 [GUITAR] knob
Adjusts the overall volume of the guitar sound.
* This knob's setting has no effect on the signal sent to the [USB] jack
* The volume output to the [LINE OUT] [L] [R] jack (THR30II Wireless only) is constant regardless of the setting of the [GUI-
TAR] knob.
!4 [AUDIO] knob
Adjusts the audio playback volume for audio from the computer connected to the [USB] jack @0 , an audio
device connected to the [AUX] jack !7, or a smart device connected by Bluetooth
!5 [INPUT] jack
This is a standard phone jack used to connect a guitar to the THR-II.
* Connecting the Relay G10T to the [INPUT] jack starts charging that device automatically. (THR-II Wireless only)
* The optimal channel is set automatically by connecting the Relay G10T to the [INPUT] jack for at least 10 seconds. (THR-II
Wireless only)
!6 [PHONES] jack
This is a stereo mini phone jack used to connect stereo headphones to the THR-II.
* Speaker sound is muted when a plug is inserted into the [PHONES] jack.
!7 [AUX] jack
This is a stereo mini phone jack used to connect an external audio device to the THR-II.
* The signal received at the [AUX] jack is not sent to the [USB] jack
!8 [USER MEMORY] [1] [2] [3] [4] [5] button
Saves up to five sets of amp section controller settings (GAIN, MASTER, BASS, MIDDLE, TREBLE, EFFECT,
ECHO/REV).
Press and hold the number of the desired [USER MEMORY] button for saving your settings to (about 2 seconds).
The save operation is complete when the memory number for the button being pushed appears in the LED Display
w. Press one of the numbered buttons (less than 2 seconds) to recall the saved settings.
* On the THR10II Wireless and THR10II, enable Bluetooth by pressing the [USER MEMORY] button [4] and [5] simultane-
ously.(Same as [Bluetooth] button
!9 [Bluetooth]button (THR30II Wireless only)
Set the Bluetooth. Hold the Bluetooth button (for more than three seconds) to switch the pairing mode (the
LED Display w flashes in green).
For further details of Bluetooth connecting, refer to the Connecting to a smart device.
!9
)
THR30II Wireless THR10II Wireless THR10II
e
can be used to set the delay time.
@0
.
(page
@0
.
Names and Functions
10).
(page
10)
Reference Manual
5
