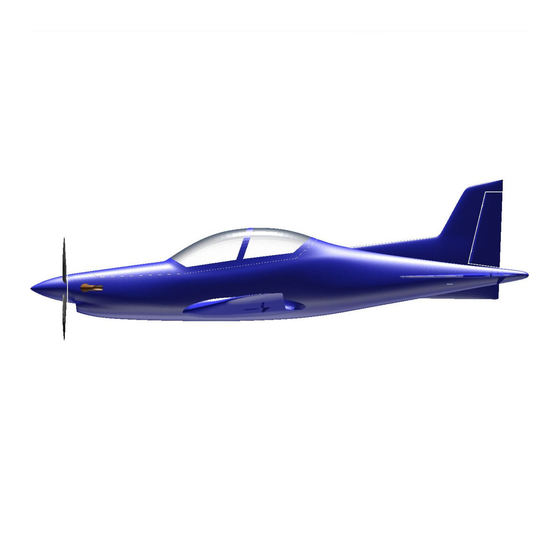
3D AEROWORKS Pilatus PC-21 Panduan Perakitan dan Panduan Pengguna - Halaman 7
Jelajahi secara online atau unduh pdf Panduan Perakitan dan Panduan Pengguna untuk Mainan 3D AEROWORKS Pilatus PC-21. 3D AEROWORKS Pilatus PC-21 19 halaman.

3
Cut 15mm sections of skewer and place into alignment holes in the fuselage sections.
NOTE - It may be required to open up the holes a small amount if the fit is too tight. Do this
by using a 3mm drill bit. Gently spin it in reverse as you insert it into the hole. This will ensure
the bit does not tear the print.
Test fit the sections of the fuse before gluing to ensure a clean fit.
4
Glue all sections of the fuse together except fuse 1. This will be glued on last in order to
allow for cg balancing.
5
Once glued, with a sharp knife, remove the false floor of the battery hatch. (see pic/
highlighted faces) NOTE: The removed sections of LW-PLA that is the false floor will be
used as hinge pieces later. Do not throw away.
