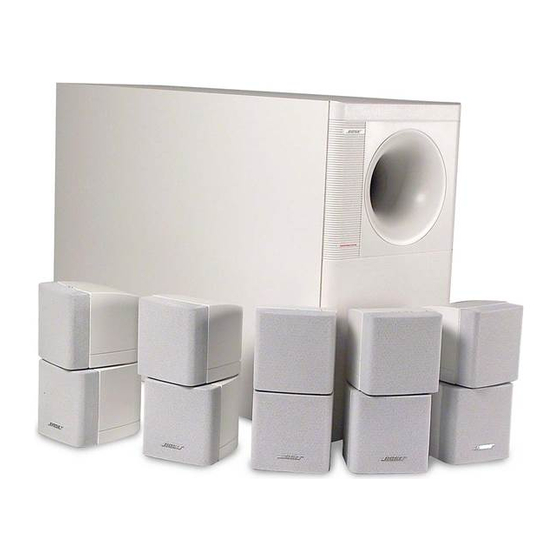
Bose Acoustimass 10 Series I Manuale - Pagina 8
Sfoglia online o scarica il pdf Manuale per Altoparlanti Bose Acoustimass 10 Series I. Bose Acoustimass 10 Series I 17. Series 2
Anche per Bose Acoustimass 10 Series I: Manuale d'uso (18 pagine), Manuale d'uso (25 pagine), Manuale d'uso (17 pagine)
1. Woofer Rub and Tick Test
1.1 Apply a 10Vrms, 10Hz signal to the
front left and right input.
Note: No extraneous noises such as
rubbing, scraping or ticking should be
heard. To distinguish between normal
suspension noise, rubs and ticks, displace
the cone on the woofer with your finger. If
the sound can be made to go away or get
worse, it's a rub or tick and the woofer
should be replaced. If the noise stays the
same, it's normal suspension noise and it
will not be heard with regular program
material. Perform this test for the surround
channel.
2. Power Sweep Test
2.1 Apply a 10Vrms, 10Hz signal to all the
bass module inputs.
2.2 Sweep the oscillator slowly from 10Hz
to 1KHz and back to 10Hz.
2.3 Listen carefully for any buzzes, rattles
or extraneous noises coming from the bass
module or cubes.
Note: Redress any wire or component that
buzzes.
3. Woofer Phase Test, Front Channels
3.1 Apply a 10Vrms, 50Hz signal to the left
and right front channels.
3.2 Disconnect the right channel. If the
sound output from the bass module drops
by approximately 1/2, the woofer is in
phase. If the sound output from the bass
module increases, stays the same or stops
completely, the woofer may be wired
incorrectly or be defective.
4. Woofer Phase Test, Surround Channel
4.1 Apply a 10Vrms, 50Hz signal to the left
and right surround channels.
TEST PROCEDURES
8
4.2 Disconnect the left surround channel. If
the sound output from the bass module
drops by 1/2, the woofer is in phase. If the
sound output from the bass module in-
creases, stays the same or stops com-
pletely, check for incorrect wiring at the
crossover assembly.
Note: The surround woofer is not service-
able.
5. Air Leak Test
5.1 Apply a 10Vrms, 10Hz signal to the left
and right surround channel input.
5.2 Listen at the bass module port for
internal air leaks coming from inside the
unit.
5.3 Apply a 10Vrms, 50Hz signal to all the
bass module inputs.
5.4 Listen for air leaks from the bass
module.
6. Twiddler™ Phase Test
6.1 Apply 9V DC to the cube input termi-
nal. Connect the positive side of the DC
supply to the positive side of the cube.
Connect the negative side of the DC supply
to the negative side of the cube. The
twiddler should move outward.
Note: The DC voltage should only be
momentarily applied to avoid possible
damage to the twiddler.