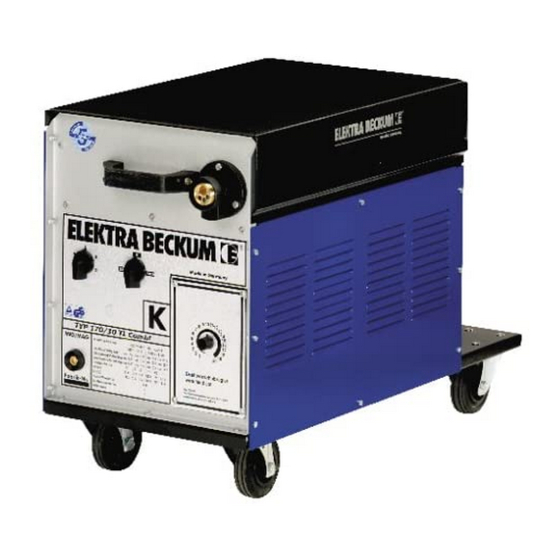
Elektra Beckum 170 - 230 Amp Models Istruzioni per l'uso - Pagina 11
Sfoglia online o scarica il pdf Istruzioni per l'uso per Sistema di saldatura Elektra Beckum 170 - 230 Amp Models. Elektra Beckum 170 - 230 Amp Models 17. Soudure semiautomatiques mig/mag 170 - 230
Anche per Elektra Beckum 170 - 230 Amp Models: (Francese) Avviso di utilizzo (18 pagine)

- 1. Table of Contents
- 2. User Responsibility
- 3. Specifications
- 4. Regulations for the Prevention of Accidents
- 5. Welding Output
- 6. Operation
- 7. Installing the Wire Spool
- 8. Welding Stainless Steel and Aluminium
- 9. Practical Hints for MIG Welding
- 10. Maintenance
- 11. Trouble Shooting
- 12. Spare Parts List and Accessoires
8
Trouble Shooting
Fault
Irregular wire feed
Brittle or porous welding
seam
Constant gas flow
No wire feed
Wire feed speed not
adjustable
Not welding current with
normal working wire feed
Arcing when gas shroud
touches workpiece
Torch becomes exces-
sively hot
No function of machine
Torch under current when
machine is switched OFF
3-phase
machine:
excessive spattering with
all welding step setting
3-phase
machine:
excessive spattering at a
particular welding step
The capacitors of the 1-phase machines need 40 seconds to discharge completely after the machine
Important!
is switched off. If the electrode wire makes contact with the workpiece during this period, a short
discharge spark is generated.
Cause
Incorrect tension of tension roller
Pilot groove of feed roller and intake nozzle not
aligned
Liner clogged or not correct size for wire
Wire spooled irregularly, rusty or of inferior quality
Wire spool carrier to tight
Feed rollers dirty of worn, groove not matching
wire size
Gas line fittings not tight
Gas cylinder empty
Gas cylinder valve closed
Pressure regulator not working
Solenoid valve not working
Gas shroud or line in lead ass'y clooged
Air draft at weld seam
Workpiece not clean
Wire of inferior quality or unsuitable gas
Solenoid valve defective or dirty
Trigger switch or leads in lead ass'y defective
PCB defective
Fine wire fuse on PCB defective
PCB defective
Contactor faulty
Step with faulty
Earth cable not conducting
Short-circuit between contact tip and gas shroud
Contact tip loose or too large for wire diameter
Mains fuse/circuit breaker tripped
Contactor sticky or contacts burned
One phase missing
Step switch defective
Cables between step switch and transformer
loose or broken
Remedy
Adjust tension
Align
Check and/or change
Clean or change liner
Change spool
Loosen
Clean or replace
Check fittings
Replace cylinder
Open valve
Check
Check power at solenoid
Clean shroud and spray, blow out gas line
Protect from draft or increase gas flow
Remove rust, grease, paint
Change wire, use suitable gas
Check, clean or replace
Check, replace if necessary
Replace
Replace (2 amp time-lag)
Replace
Replace
Replace
Correct
Clean shroud, treat with anti-clogging spray or
nozzle dip (see footnote below).
Tighten tip; replace with correct size tip
Reset or replace
Check and replace
Check contactor for proper function
Check mains fuses, check power at contactor
terminals (all 3 phases)
Check and replace
Check and replace
