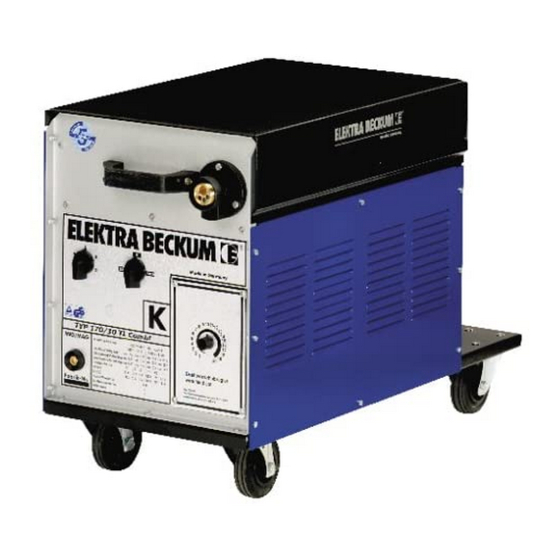
Elektra Beckum 170 - 230 Amp Models Istruzioni per l'uso - Pagina 9
Sfoglia online o scarica il pdf Istruzioni per l'uso per Sistema di saldatura Elektra Beckum 170 - 230 Amp Models. Elektra Beckum 170 - 230 Amp Models 17. Soudure semiautomatiques mig/mag 170 - 230
Anche per Elektra Beckum 170 - 230 Amp Models: (Francese) Avviso di utilizzo (18 pagine)

- 1. Table of Contents
- 2. User Responsibility
- 3. Specifications
- 4. Regulations for the Prevention of Accidents
- 5. Welding Output
- 6. Operation
- 7. Installing the Wire Spool
- 8. Welding Stainless Steel and Aluminium
- 9. Practical Hints for MIG Welding
- 10. Maintenance
- 11. Trouble Shooting
- 12. Spare Parts List and Accessoires
Welding Aluminium
To weld aluminium the following components have to be installed on welding gun and torch lead assembly:
- polyamid liner c/w copper spiral liner
- cylindrical gas shroud
- contact tip "A"
- support tube
It is important to have the feed roller set to the correct electrode wire diameter, otherwise the wire will be deformed
resulting in feed problems.
Select electrode wire to match the work piece material (pure aluminium or alloys). Welding aluminium requires a pure
inert gas, such as argon or helium. Set gas flow rate to 10 - 13 ltr/min.
1. Disconnect torch lead assembly from machine and remove electrode wire.
2. Place aluminium wire spool onto spool carrier.
3. Remove liner collet from the torch lead's central coupling and pull steel liner from torch lead assembly.
4. Remove gas shroud and contact tip from torch and replace with cylindrical gas shroud an contact tip "A".
5. Fit polyamid liner into central coupling and push through lead assembly until copper spiral rests firmly against
contact tip. The copper spiral keeps the polyamid liner from becoming too hot and possibly melting.
6. Push liner collet with o-ring into central coupling and secure with collet nut.
7. For polyamid liners of 4.0 mm outer diameter the wire feed unit's steel capillary tube has to be replaced with
a brass support tube. This brass support tube is not required for polyamid liners with 4.7 mm outer diameter.
8. Attach torch lead to central coupling and cut off liner just short of the feed roller. Use a finepitch saw, not pliers.
9. Place remaining polyamid liner between wire spool and feed unit to keep wire from bending and kinking.
10. To thread the aluminium wire into the lead assembly temporarily remove the contact tip.
Thread wire into liner. Set guide roller(s) to match wire diameter and pressure roller(s) to only minimal pressure,
so the wire will not be flattened excessive pressure. Let wire run through lead assembly until it portrudes 2 -
3 cm from the contact tip.
11. Replace contact tip and gas shroud
Welding aluminium requires a pure inert gas, such as Argon. The gas flow rate should be set to 10 - 13 ltr/min for
up to 200 A. A minium electrode wire diameter of 0.8 - 1.0 mm is recommended.
Stainless Steel Welding
As with aluminium, as pure inert shielding gas is required. Setting of the welding current as with carbon steel.
Prepare torch lead assembly for aluminium welding, but use standard contact tip and conical gas shroud.
Recommended gas flow rate 8 - 12 ltr/min.To prevent a porous weld seam forehand welding is recommended.
For shielding gas both a mixed gas or pure Argon can be used.
Comprising: PA liner 3 m, cylindrical gas shroud SB 15/15, contact tip SB 14-15, 0,8/1,0/1,2, guide tube for PA liner
und assembly instructions.
Aluminium Welding Kit:
Wire Ø
Stock-No.
0.8 - 1,2 mm
090 202 7939 with polyamid liner
For shielding gas a mixed gas with a low percentage of CO2 (< 5%) can be used (observe supplier information).
Welding Mode Selector (no. 6)
Symbol
1 2 3 4 5 6 7 8 9 0 1 2
1 2 3 4 5 6 7 8 9 0 1 2
1 2 3 4 5 6 7 8 9 0 1 2
1 2 3 4 5 6 7 8 9 0 1 2
1 2 3 4 5 6 7 8 9 0 1 2
1 2 3 4 5 6 7 8 9 0 1 2
1 2 3 4 5 6 7 8 9 0 1 2
Setting of stitch and spot weld periods by potentiometers (nos. 8 + 9)
t1 = setting of weld time
t2 = setting of dwell time
Function
First operation of trigger switch engages continuous welding mode,
second operation disengages
Machines operates as long as trigger switch
is held
Stitch-weld mode
Spot-weld mode
