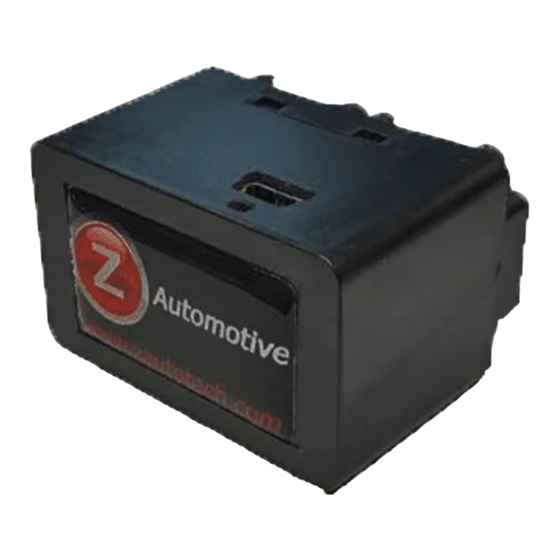
Automotive Tazer DT Manuale - Pagina 3
Sfoglia online o scarica il pdf Manuale per Automobile Accessories Automotive Tazer DT. Automotive Tazer DT 9. Programmer/light show

* Use of extra video inputs requires wiring video source(s) to radio.
required, sold separately. Some features are included yet not fully tested as the platform is so
new.
Functions) only work when installed. The Tazer DT will go to sleep by itself, 30 seconds after the RAM
shuts down.
This section explains how to use the Tazer to change the vehicle settings for
feature activation.
Navigating the menus: For all functions involving the dash (EVIC) display, the EVIC screen first needs to
be in a state where it's showing the AUDIO screen. Use the left and up/down arrows to set the EVIC
display like this. One the display is in this state, press and hold the steering wheel LEFT ARROW, and tap
the Cruise "CANCEL" button to enter the settings menu. Pressing LEFT ARROW and CANCEL will advance
through the menu items. To change/select a setting, press and hold LEFT ARROW and tap the Cruise
"ON/OFF" (center) button. Advance through the menu slowly. You can exit the menu quickly and safely
by holding the left arrow and pressing the cruise RES button. If you made any changes in the setup
menu that affect the radio, be sure to scroll to "full reboot?" and "select" it
IMPORTANT NOTE:
Some settings require two sleep/wake cycles.
this is to turn the ignition off, open and close the driver's door.
Installation
Installation is a matter of unplugging the SGW module
above the OBD2 diagnostic connector and plugging the
Tazer DT in its place. Simply locate the SGW and
unplug its two connectors by pressing the tab with
your index finger and gently
pulling straight down on the
wires. Plug those two
connectors into the Tazer DT.
The Tazer DT typically should
be left installed unless the
RAM is going for dealer
service. It does not need to be
plugged in for any of the
features in the Vehicle Settings
to remain operational. The Tazer DT is intended to
be left plugged in, as many of its features (Live
Vehicle Settings:
Special adapter harness
The quickest way to do
