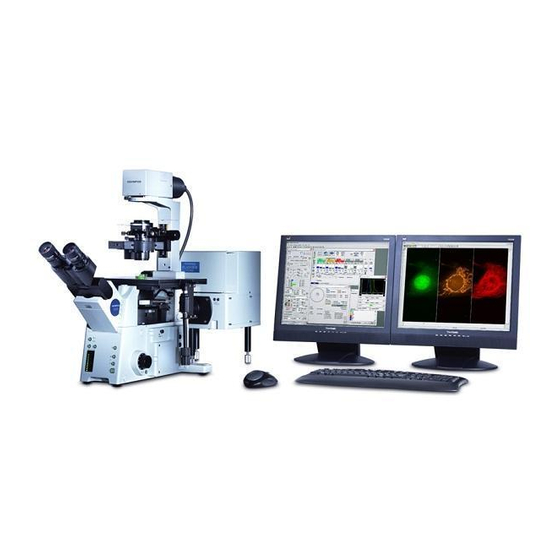
Olympus Fluoview FV1000 Manuale d'uso - Pagina 4
Sfoglia online o scarica il pdf Manuale d'uso per Microscope Olympus Fluoview FV1000. Olympus Fluoview FV1000 9. Confocal microscope
Anche per Olympus Fluoview FV1000: Panoramica (28 pagine), Manuale d'uso (42 pagine), Istruzioni brevi (7 pagine), Istruzioni brevi (7 pagine), Manuallini (3 pagine)

Olympus FV1000 User guide
August 3, 2011
D. Image Acquisition
Click off the light source button
to turn off
g
the non‐laser light.
d
Click on Dye list
button and double click
on the fluorescent dyes you want to use (e.g.
h
FITC and TRITC) from the list. Click Apply
b
c
button
(if Assign Dye Manually button
is
checked, uncheck before pressing Apply
button). It will activate the laser lines and set
f
detection channels up according to the dyes
you selected.
Choose Image size (default‐ 512x512) from
d
Size panel
.
Press
button (if not pressed) to
automatically adjust HV and Offset values
according to the scan speed change. Click
e
button to scan the sample. It will
scan fast at 2 us/pixel and show low‐quality
(pixelated) image in a Live View window.
c
b
While scanning, focus onto the region of interest with the remote focus controller or by clicking arrowhead
e
buttons in the microscope window (large arrowhead move the objective by the extent set by StepSize
,
and the small arrowheads moves the objective by the half of the large arrowhead step size).
Click Stop button
to stop scanning.
f
Set the Laser output level
(set the Multi‐Ar laser
to 1‐5% and the HeNe laser to 1‐25%, depending
on your sample condition, but no lower than 1%).
g
Set the scan speed
to 10~12.5 us/pixel and click
XY repeat
button to scan (you can scan
image faster or slower, depending on your sample).
Detector (CHS) Channel Setting
: Adjust the
brightness by HV (and Gain) and background black
level (Offset) of individual channels. Keep the HV
value below 700 (beyond 700, the background
noise will show up).
