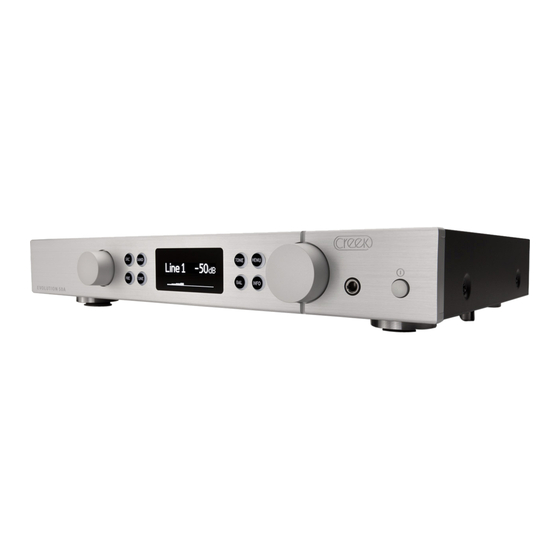
Creek Audio EVOLUTION 50A Istruzioni per l'utente
Sfoglia online o scarica il pdf Istruzioni per l'utente per Amplificatore Creek Audio EVOLUTION 50A. Creek Audio EVOLUTION 50A 8. Integrated amplifier
Anche per Creek Audio EVOLUTION 50A: Manuale di istruzioni (13 pagine), Manuale di istruzioni (17 pagine)
User Instructions for the EVOLUTION 50A/100A integrated amplifier, when
using the RUBY and RUBY 2 digital input module.
Thank you for purchasing the RUBY digital input Module from Creek Audio. You are now in
possession of a State of the Art digital to analogue converter, with additional functions.
The Ruby module is an upgrade option, suitable only for Evolution 50A and Evolution 100A Creek
Integrated Amplifiers. It should be fitted by your supplying dealer, but if that is not possible, or you
bought your amplifier remotely these instructions are designed to help you install the module
without danger.
The function and operation of the Ruby is deceptively simple, considering how many features it
offers, all of which can be controlled remotely.
SAFETY REQUIREMENTS
Read all the following instructions carefully before installing or operating the RUBY. Keep this User
Manual so you can refer to these safety instructions later if required.
FITTING THE RUBY MODULE
Safety!
Please disconnect the amplifier from the mains power supply, by removing the mains plug from
the rear IEC socket.
Remove the top cover from the EVOLUTION 50A/100A integrated amplifier, by un-screwing the 4
side screws and the 3 rear screws. Be careful to retain these screws and the cutting washer for re-
fitting. Pull the cover up on one side only and peel it up and over to the other side, to avoid bending
the cover in the middle.
EVOLUTION 50A amplifiers with serial/batch numbers, 'EVO50A S/B 1315 0500' or earlier, are not
capable of accepting the RUBY module.
EVOLUTION 50A amplifiers with serial/batch numbers later than quoted above, together with all
EVOLUTION 100A amplifiers have RCA sockets marked LINE INPUT 5 mounted on the rear panel in an
expansion slot. Input 5 sockets are mounted on 90 x 36mm (3.5 x 1.4") plate. Input 5 mounting
plate is held in place with two Torx T7 screws. Remove the outer two screws that hold the plate to
the back panel. Move the plate away from the back panel and pull-out the flat foil cable from the
Pre-amp PCB socket, underneath it, marked MODULE.
Insert the 110mm (4.3 inches) Flat Foil Cable (FFC), exiting from the RUBY module, into the
appropriate socket on the Pre-amp PCB below it, marked MODULE. The Ruby module should now
be held upside-down (components facing down, bare PCB facing upwards) with the input sockets
facing backwards towards the rear panel. The foil cable must not be twisted. Fold the loose FFC
under the RUBY's PCB.
Page 1