Creek Audio EVOLUTION 50A Istruzioni per l'utente - Pagina 4
Sfoglia online o scarica il pdf Istruzioni per l'utente per Amplificatore Creek Audio EVOLUTION 50A. Creek Audio EVOLUTION 50A 8. Integrated amplifier
Anche per Creek Audio EVOLUTION 50A: Manuale di istruzioni (13 pagine), Manuale di istruzioni (17 pagine)
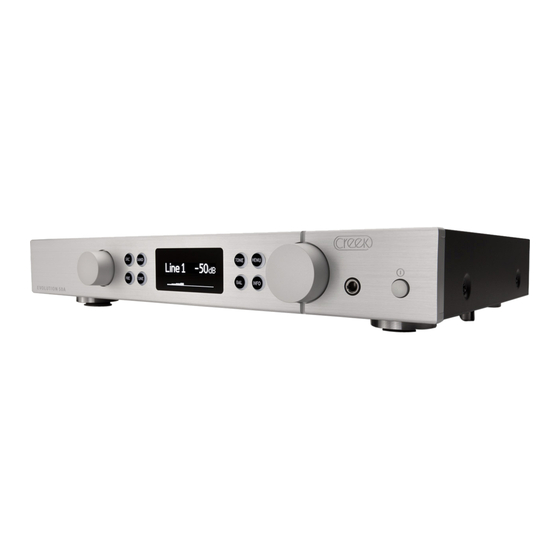
All input functions are selected by the left-hand control knob and 3 push buttons.
After pressing SRC, the left hand knob can be used to select the desired input. The additional inputs
include USB, Bluetooth, Co-axial SPDIF and Optical SPDIF.
Tuner operation
CONNECTING ANTENNA
To get you started quickly, Creek Audio has included a 1.5 metre length of wire with a co-ax plug at
one end, to act as a temporary FM antenna. Adjust the position of this temporary antenna for best
results. However, to obtain the best FM signal, use a high quality, multi-element, directional
external VHF - FM antenna. If in doubt consult your supplying Hi-Fi dealer, or a specialist antenna
installation company for advice. The RUBY uses a male co-ax antenna socket. If your connection is
an F socket, please use the F to co-ax converter supplied in the packaging.
To switch to the FM Tuner, press one of the three Tuner buttons – BAND, PRE or TUNE. To return to
the amplifier's analogue or digital inputs, press the SRC (Source) button.
BAND, has no function with the RUBY module as only FM band is available. Only the AMBIT module
has AM/FM.
TUNE selects between manual tuning mode and automatic SEEK mode. Press TUNE and rotate the
left-hand knob to increment the frequency up or down to the desired FM station. Press the knob
briefly to initiate SEEK/SEARCH in the direction last travelled by the rotary control.
PRE switches to a station preset mode. Turn the left-hand control knob to step through 99 available
preset locations. Presets can be populated manually or automatically. Both methods are detailed in
the paragraphs bellow.
Storing a station in a Preset location can be done several ways with the Receiver.
1. Seek or manually tune to a station; Press and hold PRE button until a Preset location number
flashes on the screen in place of FM text. The flashing number indicates the preset location
immediately following the last one in use, making it convenient to program a series of
presets in a row. If you wish, you can change the offered preset location by turning the
control knob. To confirm and store the tuned frequency into the selected preset location,
press PRE again briefly. The received station is now stored in your chosen location. N.B. The
flashing number will time-out and the preset store operation will be cancelled in about 9
seconds, without any user input.
2. Repeat the steps above for any subsequent station(s).
3. Automatically SEEK and store all stations of a usable quality in Preset locations starting from
the last one in use. Press PRE and TUNE together and hold down for about 3 seconds, until
the Tuner starts to SEEK automatically starting from the currently tuned frequency up and
wrapping around the band edge to complete the seek throughout the entire active band. All
Page 4