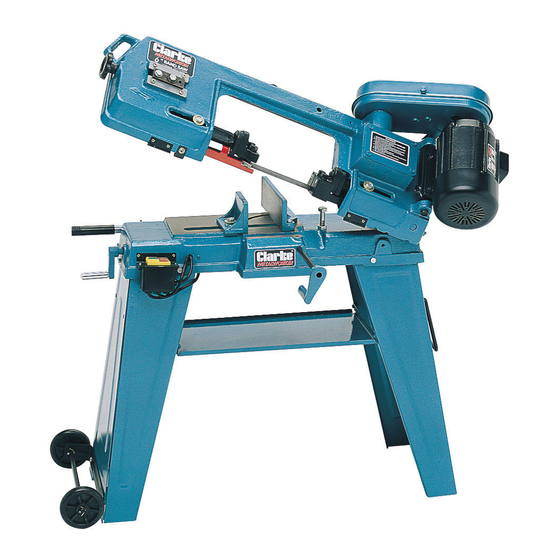
Clarke Metalworker CBS45MD Manuale d'uso e manutenzione - Pagina 14
Sfoglia online o scarica il pdf Manuale d'uso e manutenzione per Sega Clarke Metalworker CBS45MD. Clarke Metalworker CBS45MD 19. 6” (152mm) bandsaw

4. Carefully feed the new blade between the blade guide bearings, ensuring the
teeth are pointing DOWNWARDS, and then over the top pulley. Hold in position
with one hand whilst stretching the blade downwards, and over the bottom pulley.
Hold in place whilst applying slight tension by screwing the blade tension adjuster
knob clockwise.
5. Ease the blade on to the pulleys as far as possible.
6. Tension the saw blade according to the instructions on page 10.
7. Place 2-3 drops of oil on the blade.
8. Replace the hinged blade cover
9. Observing all precautions, plug into the mains and start the machine and allow
to run for approx. 10 mins at low speed. This will assist in bedding in the saw blade.
NOTE:
If the pulleys have not been interfered with, the blade should run evenly , running
ust off the lip on the back of each pulley. If it wanders off the pulleys, or bears
heavily on the lip at the back of the pulley, evidenced by a harsh scraping sound,
then tracking adjustment will be necessary - see below.
7. Blade Tracking Adjustment
This adjustment is carried out at the
factory and it should not normally
require readjustment. If the blade is
thrown, first try a new blade as this
should normally cure the problem. If the
new blade does not track correctly
however, adjust the tracking as follows:
1. Ensure the plug is disconnected, the
Arm is in the vertical position. and the
blade cover is removed, then
adjust the blade so that only
moderate tension is applied.
2. Slacken the two Hex socket
head bolts, shown in Fig.3 by
one turn.
3. Turn the blade by hand, ensuring you are wearing a suitable pair of industrial
gloves, checking to ensure the blade runs neatly, just off the lip on the back
edge of the pulley wheel.
If the blade tends to climb the lip on the back edge of the pulley wheel, a harsh
scraping sound will become apparent. Should this occur, the hex. socket screw shown
in Fig.3 should be turned ANTICLOCKWISE,until the blade runs centrally on the pulley.
Should the blade tend to run OFF the pulley, turn the hex. socket screw CLOCKWISE
4. Close the blade cover and switch ON the saw. Run for a period, monitoring
the action of the blade, to ensure it runs neatly. If necessary, stop, disconnect
from the mains then carry out the adjustment again until satified.
ensuring it is secure.
14
Fig.3
