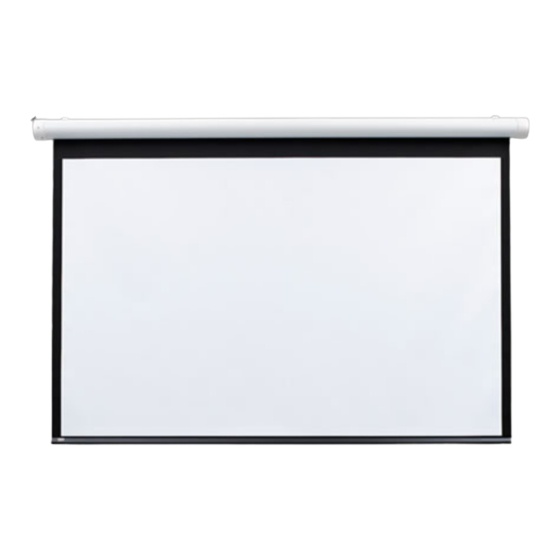
投影スクリーン Draper NocturneのPDF インストレーション・インストラクションをオンラインで閲覧またはダウンロードできます。Draper Nocturne 4 ページ。 Draper nocturne exterior projection screen

Nocturne™ Exterior Projection Screen by Draper
① Inspect all boxes to make sure you have received the proper parts.
② Open cartons lengthwise.
③ All hardware must be installed level. Screens must be level and square.
④ Do not wire motors in parallel without written permission from Draper.
⑤ It is the installer's responsibility to make sure appropriate fasteners are used
for mounting surface.
⑥ Please read the following installation guidelines thoroughly and follow
them carefully. Failure to do so may cause product to fall or otherwise
fail, and invalidates warranty.
Before mounting your Nocturne Exterior Projection Screen, mark build-
ing for placement of mounting brackets and pre-drill mounting holes
and electrical access holes (if necessary) in mounting surface. It is
installer's responsibility to make sure appropriate fasteners are used for
mounting surface. The Nocturne Exterior Projection Screen is shipped
with screen case assembly complete (see Fig. 1).
Mounting Through Back of Screen Case:
① Remove fascia from screen case. If your unit is equipped with a crank
operator, fi rst remove the crank attachment from the unit, then remove ad-
ditional screws holding fascia onto back/top and rotate fascia up and off of
unit (see Fig. 2).
Please Note: A minimum of 1¾" is required
for the closure to hinge up, attach and close.
For fl ush ceiling mount, blocking (max.
depth 3") may also be required above
screen case to allow closure panel suf-
fi cient room to hinge to open/close.
®
Copyright © 2012 Draper Inc.
Form Nocturne_Inst12
Installation Instructions
Caution
Figure 1
3" Max.
Clg
1¾"
Min.
Wall
Figure 2
Print ed in U.S.A.
② Drill mounting holes in back of screen case, using holes in endcaps for
guides. Holes can also be drilled through the sides of the endcaps for
inside mounting (see Fig. 3). If this is a motorized unit, you will also need to
drill out a hole for the power and control cable to exit the screen case.
Drill holes for wall mounting,
using holes in endcaps as guides.
Please Note: It is the installer's responsibility to make sure appropriate
fasteners are used for mounting surface.
Mounting Through Top of Screen Case:
① Remove fascia from screen case. If your unit is equipped with a crank
operator, fi rst remove the crank attachment from the unit, then remove ad-
ditional screws holding fascia onto back/top and rotate fascia up and off of
unit (see Fig. 2).
② Remove screen assembly from screen case. If motorized, remove motor
retaining clips. Pull the screen assembly away from the operator end. This
will depress the spring-loaded pin on the non-operator end. Then you can
rotate screen assembly out of the screen case (Fig. 4).
Motorized
Please Note: A minimum of 1¾" is required for the closure to hinge up, attach
and close.
③ Drill mounting holes in top of screen case, using holes in endcaps for
guides. If this is a motorized unit, you will also need to drill out holes for the
power and control cables to exit the screen case.
Please Note: It is the installer's responsibility to make sure appropriate
fasteners are used for mounting surface.
④ Replace screen assembly in screen case. Place the spring-loaded pin on
the non-operator end into the endcap. Push the screen assembly toward
the non-operator end to depress the spring-loaded pin, then rotate screen
assembly into the screen case.
⑤ Lower viewing surface approximately 12" to begin guide installation.
⑥ If motorized, replace motor retaining clips (see Fig. 4).
Side Cable Installation (see Fig. 5 on page 2):
Please Note: Skip this section if you elect not to install the side cable
guides.
① Attach cable deck or wall mount to mounting surface.
② Attach cable to deck or wall mount using provided washer and nut.
③ After making sure of the length required, cut cable and strip the protective
jacket from the top 1".
④ Insert cable through the hole provided in the end of the dowel, and then up
through hole in endcap.
⑤ Insert stripped-off portion of cable into provided screw jacket, then tighten
in place against the side wall of the endcap with the provided screw. Make
sure the cable is taut. Tension to 8 in-lbs, so the screen will move up and
down easily along the cable.
⑥ Replace fascia and crank operator (if provided).
If you encounter any diffi culties installing or servicing your Nocturne Exterior Projection Screen
call your dealer or Draper, Inc. in Spiceland, In di ana, 765-987-7999, or fax 765-987-7142.
Figure 3
Crank
Figure 4
Continued on next page
