- ページ 7
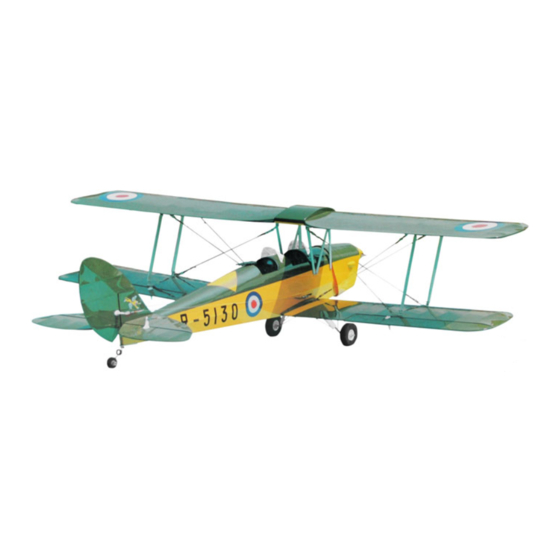
おもちゃ Green R/C Model Airplanes Tiger MothのPDF 取扱説明書をオンラインで閲覧またはダウンロードできます。Green R/C Model Airplanes Tiger Moth 11 ページ。 The unique almost-ready-to-fly scale 1:7 model of great britain's famous wwii training aircraft
Green R/C Model Airplanes Tiger Moth にも: 取扱説明書 (11 ページ)
5) Tighten the two mounting
gear and wheel in place at the bottom of the fuselage end. Be sure that the tail gear can rotate
freely in the mounting plate.
6) Finally, connect the pull-pull control cables to the horns on the elevator and the rudder
respectiv-ly. Adjust the tension in the cables by turning the clevises clockwise or
counter-clockwise on the threaded connector.
Step
Step 5. 5. 5. 5. Installation
Step
Installation of of of of the
Installation
Installation
Step
* * * * Open
Bag
Bag
Bag
Bag 5# 5# 5# 5#
*Open
Bag
Bag
Bag
Bag 13#
13#
13#
13#
1) Mount the aileron control horns and aileron pushrods on the ailerons.
pre-drilled to locate the position of the horns.
2) Refer to Fig. (5), locate and remove the aileron servo access doors. Mount your aileron servos to
the access doors. Long servo horns are needed to get the pushrods outside the slots in the servo
door. You will need two servo extensions and one "Y" connector. The wing panels have pull
strings pre-installed. Tie the pull string to your aileron servo wire extensions and carefully pull
the extensions through the wing panels to the exit holes near the center. Connect your extensions
with the "Y" connector.
3) Connect the aileron pushrods to the aileron servo arms.
4) After installing the servos and connecting the servo extensions, re-install the access doors.
Step
Step 6. 6. 6. 6. Assembling
Step
Assembling
Assembling
the
the
Step
Assembling the
the lower
*Open
to get the wing
Bag
Bag
Bag
Bag 6# 6# 6# 6#
*Open
and
Bag
Bag
Bag
Bag 7# 7# 7# 7#
1)
Insert the lower wing front
section of the lower wing panel and join the left and right panels tightly together to get the
complete
complete
complete
complete lower
lower
lower
lower wing.
2)
Refer to Fig (6), firstly use the self-tapping screws (W13) to mount the aluminum angle mounts
All manuals and user guides at all-guides.com
screws (L10) to secure the mounting plate (L09) along with the tail
the
the
aileron
aileron
servos
servos
the aileron
aileron servos
servos
to get the lower
lower
lower
lower wing
wing
wing panels
wing
panels
panels
panels with
to get the aileron
aileron
aileron
aileron control
control horns
control
control
Fig.
Fig.
Fig. (5)
Fig.
(5)
(5)
(5) Installing
Installing
Installing
Installing the
1. Aileron
2. Aileron horn
5. Access door
lower
lower
wing
wing
and m m m m o o o o unting
and
and
unting
unting
lower wing
wing and
unting the
wing
wing dihedral
wing
dihedral
dihedral
dihedral joiners
to get all the hardware needed for assembling the wings.
Bag
Bag 8# 8# 8# 8#
Bag
Bag
front
front
front dihedral
dihedral
dihedral joiner
dihedral
wing.
wing.
wing.
with
with ailerons
with
ailerons
ailerons (W03).
ailerons
horns
horns (C06) and pushrods
horns
pushrods
pushrods
pushrods (C07) . . . .
the
the
the aileron
aileron servos
aileron
aileron
servos
servos and
servos
and
and controls
and
3. Pushrod.
6. Long servo arm (not included in kit)
the
the
wing
wing
struts
struts
the wing
wing struts
struts
joiners
joiners
joiners , the wing
wing
wing struts
wing
struts
struts and the wing
struts
joiner
joiner
joiner (W04) and rear
rear
rear dihedral
rear
7
There are holes
controls
controls
controls
4. Aileron servo
wing
wing
wing cabanes.
cabanes.
cabanes.
cabanes.
dihedral
dihedral
dihedral joiner
joiner (W06) into the root
joiner
joiner