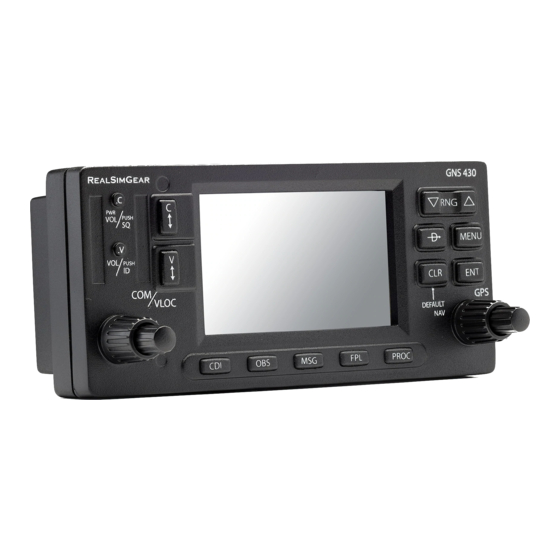
2. COMMUNICATING BY USING THE GNS 430
A frequency may be quickly selected from the database by simply highlighting the
desired frequency on any of the main pages and pressing the ENT Key. This process is
referred to as auto-tuning. Once a frequency is selected in the standby field, it may be
transferred to the active frequency by pressing the COM Flip-flop Key. For example:
To auto-tuning a COM frequency for an airport:
1) Turn the large right knob to select the WPT Page Group.
2) Turn the small right knob to display the Frequency Airport Page
3) Press the small right knob momentarily to active the cursor.
4) To select a frequency, turn the large right knob to highlight the desired frequency
and press the ENT Key to place the frequency in the standby field of the COM Window.
To select a COM frequency:
1) If the tuning cursor is not currently in the COM Window, press the small left knob.
2) Turn the large left knob (click area 3) to select the desired megahertz (MHz) value.
For example, the '118' portion of the frequency '118.000'.
3) Turn the small left knob (click area 5) to select the desired kilohertz (kHz) value. For
example, the '.000' portion of the frequency '118.000'.
NOTE: The active frequency in either window cannot be accessed directly, only the
standby frequency is highlighted by the tuning cursor.
4) To make the standby frequency become the active frequency, press the COM Flip-
flop Key (click area 20)
The tuning cursor is normally in the COM Window. To select a VOR/Localizer/ILS
frequency, press the small left knob (click area 4) momentarily to place the cursor in the
VLOC Window.

