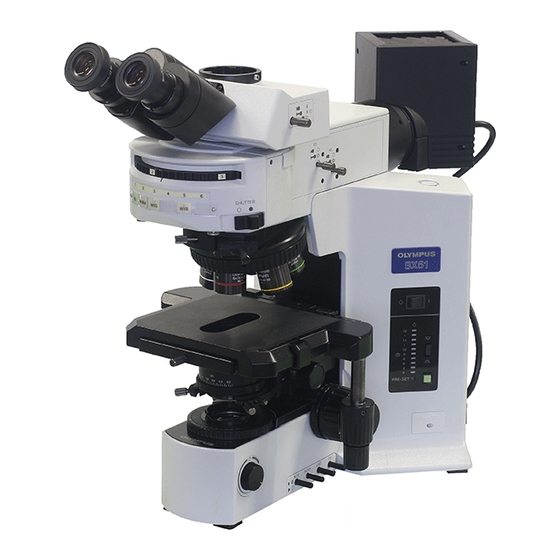
- ページ 9
顕微鏡 Olympus BX2 SERIESのPDF メンテナンス・マニュアルをオンラインで閲覧またはダウンロードできます。Olympus BX2 SERIES 29 ページ。 Olympus microscope bx2
Olympus BX2 SERIES にも: インフォメーション (6 ページ)

BX2 MAINTENANCE MANUAL
3. Preparing for inspection
ADJUSTMENT OF KOEHLER ILLUMINATION
1) Set the main switch "A" to "I" (ON) and adjust the brightness by turning the adjustment knob "B" .
2) Set the light path selector knob "C" to the pushed-in position.
(Pushed-in position: Binocular 100%, Middle position: Binocular 20% Photo/TV 80%, Pulled-out position: Photo/TV 100%)
3) Place a specimen on the stage.
4) Engage the 10X objective in the light path.
5) Turn the condenser height adjustment knob "D" to raise the condenser to its upper limit.
( When using the U-SC3 swing-out condenser, move the top lens into the light path.)
6) Looking through the eyepiece in the right sleeve without the diopter adjustment ring, turn the
coarse and fine focus adjustment knobs to bring the specimen into focus.
7) Looking through the eyepiece in the left sleeve with the diopter adjustment ring, turn only the
diopter adjustment ring "E" to focus on the specimen.
(At this time, adjust the interpupillary distance so that the binocular visions on the left and
right fields of view coincide completely.)
8) Turn the field iris diaphragm ring "F" in the direction of the arrow so that the iris diaphragm image
comes inside the field of view.
9) Manipulate the condenser height adjustment knob "D" to focus on the iris diaphragm image. (See Fig.1)
10) Turn the two condenser centering screws "G" to move the iris diaphragm image to the center
of field of view. (See Fig. 2)
11) Gradually open the field iris diaphragm. The condenser is properly centered if the iris diaphragm
image is centered and inscribed in the field of view. (See Fig.3)
(During actual use, open the field iris diaphragm slightly until its image circumscribes the field
of view. See Fig.4)
Reference: Since the contrast of microscope specimens is ordinary low, setting the condenser
aperture iris diaphragm to between 70% and 80% of the N.A. of the objective in use
is usually recommended. If necessary, adjust the ratio by removing the eyepiece
and looking into the eyepiece sleeve while adjusting the aperture iris diaphragm ring "H".
H
G
F
MAINTENANCE PROCEDURE
C
OL YMPUS
Field iris
BX51
diaphragm image
A
1 2
1 1
1 0
9
8
6
4
P
PRE-SET
D
B
Fig.2
Fig.1
- 6 -
Fig.3
Fig.4
