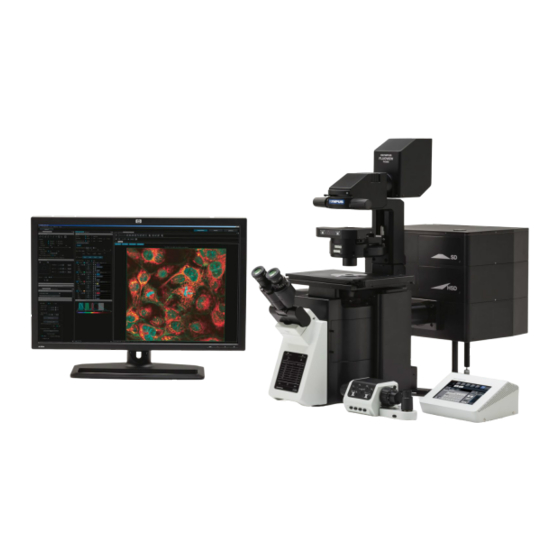
顕微鏡 Olympus FV3000のPDF 操作マニュアルをオンラインで閲覧またはダウンロードできます。Olympus FV3000 5 ページ。
Olympus FV3000 にも: 操作マニュアル (38 ページ), 安全マニュアル (16 ページ)

1. Switch on PC (password olympus)
2. Switch on the main power switch on the cord extender in the Rack. Stage control
and microscope controller will switch on automatically.
3. Switch on laser lines which you plan to use. System has 405nm, 445nm, 488nm,
514nm, 561nm, 594 nm and 640 nm cw diode lasers.
4. Turn on the key to activate the lasers. The lasers will blink with green. Then they
show white lamp on, they are ready to use.
5. You can add a laser line later when software is running too.
6. Turn on touch PC (the switch is on the back) and wait until it is initialized. Blue and
green light should light up on the controller.
7. If you need heating and CO2, switch on the cord extender for the Cell Vivo (heating
and CO2 control unit) and start Cell Vivo software. And start heating 1hour in
advance minimum
8. Start the FV31S-SW software
9. Now you can switch on FLIM system (use a FLIM guideline)
10. Keep resonant scanner unchecked if you do not need it. If you need it, for stability
start it 30 minutes before your scans.
11. Keep other settings in the start dialog unchanged (enable XY on)
12. Choose NO for stage cleaning
13. Choose objective either in software or on touch PC. The microscope has 1.25x NA
0.04, 4x NA 0.16, 20x NA 0.8, 40x NA 1.4 oil, 30x NA 1.05 Silicon oil and 60x NA 1.3
Silicon oil. If using oil objective,
14. Check the collar correction on the objective. It should be set to 0.17mm if you use
1.5# cover slips. Note that at 23C and at 37C the correction is different.
15. Use the Camera/Eye button on the touch panel controller to switch between Laser
Scanning Mode (LSM, camera symbol) to Ocular view (eye symbol). You will probably
need to adjust light intensity.
16. Find your sample using epifluorescence (EPI) or transmission light (DIA). For EPI
select Quad filter, on position. 2.
17. For EPI choose 1V for violet excitation (DAPI), 2B for blue excitation (GFP) and 3GR
for red excitation (RFP) for LEDs.
18. Open and close shutter when needed
19. Check that COOL LED is on.
Provisionary
https://uol.de/neurosensorik/forschung/fluorescence-microscopy-service-unit
Olympus FV 3000 operation manual
CHECK THAT YOU USE RIGHT TYPE OF OIL
