- ページ 2
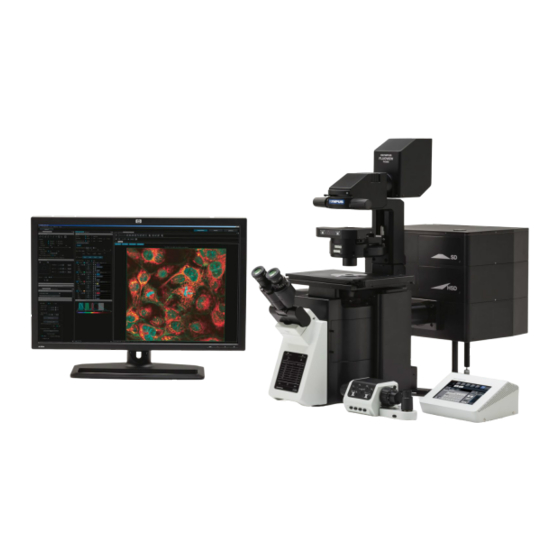
顕微鏡 Olympus FV3000のPDF 操作マニュアルをオンラインで閲覧またはダウンロードできます。Olympus FV3000 5 ページ。
Olympus FV3000 にも: 操作マニュアル (38 ページ), 安全マニュアル (16 ページ)

20. In software choose in Ocular pannel, and LSM
21. In the "LSM imaging "panel adjust adjust Scan
Setting: Scanner Type: Galvo, Oneway mode. Scan
speed: 2µs/pix.
22. In the "PMT" panel adjust Scan Setting: use VBF.
23. In the "PMT" panel set channels for your dyes, by pressing the "Dye & Detector
select" button. Adjust emission bandwidth if needed.
24. In the "PMT" panel check the confocal aperture. Use AUTO to have it averaged for all
channels.
25. Start with low laser power 0.5%, HV 500, offset 0% (max 3%), do not change gain.
You can set up two 4 channels in one group plus transmission light channel.
Detection regions should not overlap with laser lines.
26. In the "Area Settings" panel select the Scan Size and use the Optimize button to
adjust the Zoom for Nyquist-sampling
27. Check for over and underexposure (Hi-Lo).
28. Check bleadthrough, i.e if you see signal from one laser in another channel. If
bleadthrough, go to "PMT" panel, select "sequential sc" and the mode "Line" or
"Frame" (Frame is faster).
29. Be careful and do not overexpose PMTs. (indicated by red colour in Hi-Lo mode)
30. Set a folder where your images will be saved. Use the D-drive for it and find your AG-
folder. The image format will be *.oir
31. Set averaging/accumulation if you need it.
32. Check if Z series and t-series are off
33. Do your imaging: press LSM-START
Finish your work
1. When finished: close the software.
2. if used heating and CO2 then stop heating and CO2 in the Cell Vivo software and
close it. Switch off Cell Vivo switch on the power cord. Close CO2 valves.
3. Copy your data to the data transfer server.
4. Switch off FLIM system if it was on
5. On the touch PC screen press OFF, when OLYMPUS is displayed, switch off the touch
PC using the switch on the back.
6. Turn the key to deactivate lasers.
7. Switch off all lasers which are on.
8. Switch off the main switch on the power cord in the rack.
9. Remove your sample
10. Clean oil objective with isopropanol and lens paper.
11. Write you name, date and comments in the electronic log book.
12. Switch off the PC.
For Z-stack:
1. In acquisition choose Z-series on (Z Section panel, bottom right)
2. Find bottom position, register it, then find a top position and register it.
3. Go from the lower position to higher position.
4. Optimize step size accordingly to your needs (Or press the "Optimize" button).
Provisionary
https://uol.de/neurosensorik/forschung/fluorescence-microscopy-service-unit
