- ページ 9
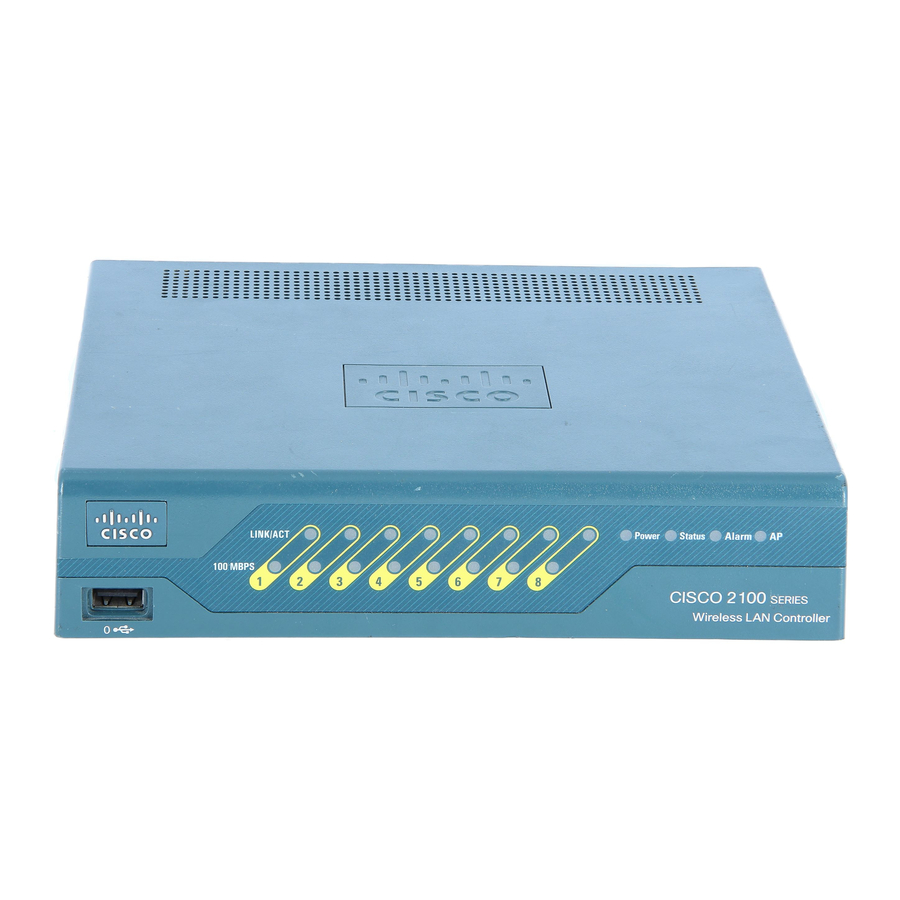
ネットワーク・ハードウェア Cisco 2100 SeriesのPDF クイック・スタート・マニュアルをオンラインで閲覧またはダウンロードできます。Cisco 2100 Series 49 ページ。 Cisco 8500 series
wireless lan controller
Cisco 2100 Series にも: 設定マニュアル (40 ページ), 設定マニュアル (50 ページ), クイック・スタート・マニュアル (12 ページ)
• Status of the 802.11a, 802.11b, and 802.11g networks, either enabled or disabled.
• Status of radio resource management (RRM), either enabled or disabled.
Choosing a Physical Location
You can install the controller almost anywhere, but it is more secure and reliable if you install it in a
secure equipment room or wiring closet. For maximum reliability, mount the controller while
following these guidelines:
• Make sure you can reach the controller and all cables attached to it.
• Make sure that water or excessive moisture cannot get into the controller.
• Make sure that airflow through the controller is not obstructed. Leave at least 4 in. (10 cm) clear
on both sides of the controller.
• Verify that the ambient temperature remains between 32 to 104° F (0 to 40° C).
• Make sure that the controller is within 328 ft. (100 m) of equipment connected to the
10/100BASE-T ports.
• Make sure that the power cord can reach a 100 to 240 VAC grounded electrical outlet.
Connecting the Controller's Console Port
Do not connect a Power over Ethernet (PoE) cable to the console port. Doing so will
Caution
damage the controller.
Before you can configure the controller for basic operations, you need to connect it to a PC that uses
a VT-100 terminal emulator (such as HyperTerminal, ProComm, Minicom, or Tip). Follow these steps
to connect the PC to the controller's console port:
Plug the RJ-45 connector on a null-modem serial cable into the controller's console port and
Step 1
the other end of the cable into the PC's serial port.
Start the PC's terminal emulation program.
Step 2
9