- ページ 2
ネットワーク・ハードウェア Cisco ATA 191のPDF 管理マニュアルをオンラインで閲覧またはダウンロードできます。Cisco ATA 191 4 ページ。 Analog telephone adapter
Cisco ATA 191 にも: ユーザーマニュアル (30 ページ), ユーザーマニュアル (10 ページ), スタート (8 ページ), マニュアル (10 ページ), クイック・スタート・マニュアル (13 ページ), セットアップマニュアル (6 ページ), ユーザーマニュアル (40 ページ), ユーザーマニュアル (30 ページ)

Safety Recommendations
Safety Recommendations
To ensure general safety, follow these guidelines:
• Do not get this product wet or pour liquids into this device.
• Do not open or disassemble this product.
• Do not perform any action that creates a potential hazard to people or makes the equipment unsafe.
• Use only the power supply that comes with the ATA.
• Ultimate disposal of this product should be handled according to all national laws and regulations.
• Read the installation instructions before you connect the system to its power source.
• The plug-socket combination must always be accessible because it serves as the main disconnecting
• Do not work on the system or connect or disconnect cables during periods of lightning activity.
• To avoid electric shock, do not connect safety extra-low voltage (SELV) circuits to telephone-network
For translated warnings, see the Regulatory Compliance and Safety Information for the Cisco ATA 191
document.
Package Contents
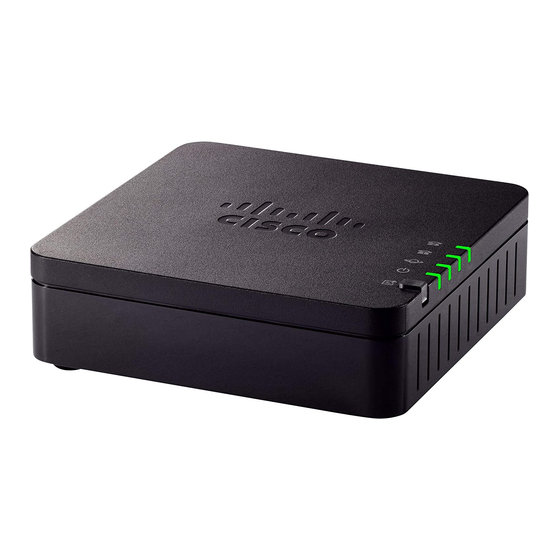
The ATA 191 package contains the following items:
• Cisco ATA 191 Analog Telephone Adapter
• Regulatory Compliance and Safety Information for the ATA 191
• 5V power adapter with appropriate country clip
• Ethernet cable
Install Your Cisco ATA
You can use either Category 3/5/5e/6 cabling for 10-Mbps connections, but you must use Category 5/5e/6 for
100-Mbps connections.
Cisco ATA 191 Analog Telephone Adapter Administration Guide for Cisco Unified Communications Manager
2
device.
voltage (TNV) circuits. LAN ports contain SELV circuits, and WAN ports contain TNV circuits. Some
LAN and WAN ports both use RJ-45 connectors. Use caution when connecting cables.
The ATA is intended for use only with the 5V DC power adapter that comes with the
Note
unit.
Install the ATA 191
