- ページ 3

オール・イン・ワン・プリンター Toshiba DIGITAL SeriesのPDF インストレーション・ノートをオンラインで閲覧またはダウンロードできます。Toshiba DIGITAL Series 4 ページ。 Split type
Toshiba DIGITAL Series にも: オーナーズマニュアル (48 ページ), ユーザーマニュアル (45 ページ), ユーザーマニュアル (49 ページ), オーナーズマニュアル (50 ページ), ユーザーマニュアル (48 ページ), オーナーズマニュアル (4 ページ), オーナーズマニュアル (41 ページ), オーナーズマニュアル (22 ページ)
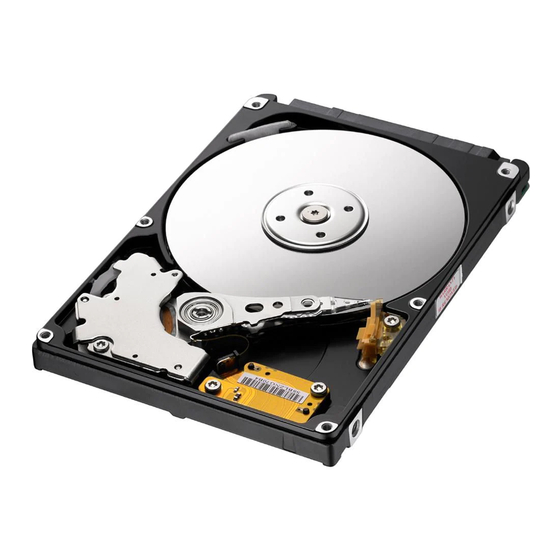
Toshiba DIGITAL Series インストレーション・ノート
43
CONNECTOR
INSTALLATION INSTRUCTIONS
Note: Toshiba's 2.5" HDDs are primarily used in notebook devices. Installation
into a notebook varies depending on the system manufacturer. Toshiba's 2.5"
drives that are installed into a desktop PC require a 3.5" installation kit.
1. Determine mounting configuration (can be mounted in either a horizontal or
vertical orientation).
2. Configure drive for system application.
3. Configure the adapter board for the specific system application (if required).
4. Install the I/F cable to the System's 44 pin connector port or adapter board.
Ensure Pin 1 is oriented correctly. (Pin 1 on the cable is usually identified by a
red or blue stripe.)
5. Refer to applicable manuals for software installation instructions.
P/N 480056-F0
08/04
INTERFACE
FIGURE 1 – 2.5" HDD JUMPER LOCATIONS
JUMPER
No Jumper
C-D Jumper
B-D Jumper
B-D Jumper
A-B Jumper
A-C Jumper
MOUNTING HOLES
FIGURE 2 – MOUNTING HOLE LOCATIONS
2.5" Hard Disk Drive Installation Notes - 9.5mm GAS Series
KEY
PIN 20
P28
DRIVE
-
Master Drive
-
Slave Drive
LOW
Master Drive
Slave Drive
HIGH
-
Slave Drive/
-
Prohibit
1
C A
D B
JUMPERS