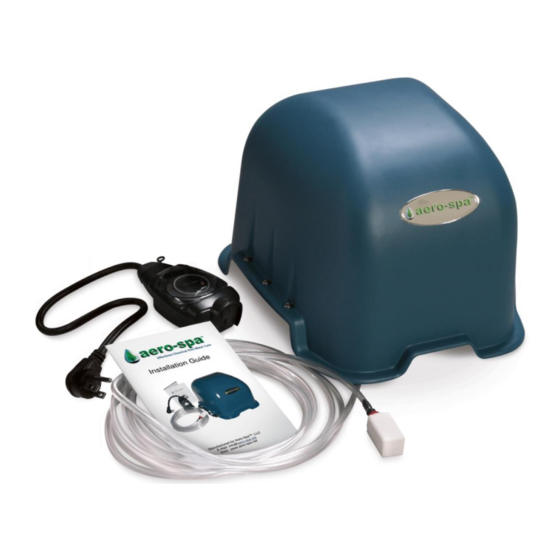
Aero-Spa AP 1000 설치 매뉴얼 - 페이지 5
{카테고리_이름} Aero-Spa AP 1000에 대한 설치 매뉴얼을 온라인으로 검색하거나 PDF를 다운로드하세요. Aero-Spa AP 1000 13 페이지.
Aero-Spa AP 1000에 대해서도 마찬가지입니다: 설치 매뉴얼 (12 페이지)

Equipment Set-up
For best results it is highly recommended that the hot tub be drained
and thoroughly cleaned to remove residual dirt and contaminants
prior to installation of the Aero-Spa system.
Set the equipment on a level solid spacer block that is at least 2 – 3/8"
thick and at least 10' from the hot tub that is not prone to flooding
(equipment is weather proof but not waterproof) (Figure 2). If the
supplied ozone tube is not of adequate length, move the equipment
closer to the hot tub but not closer than 10'. Do not extend or shorten
the ozone tube. If the tube is too long, coil the excess tube in an 8"
diameter coil.
Do not splice or modify the air line setup, an improperly sized ozone tube will
detrimentally affect the performance and life of this product and may void the
1.) Connect the 20' ozone tube (connected to diffuser) to the fitting
exiting the underside of the Generator. Secure using provided
cable tie
2.) Loop the ozone tube over the edge of the hot tub (Figure 3).
3.) Align the ozone tube with the center seam of the cover and allow it
to lie in the gap to ensure that it is not pinched when the cover is
closed. The clear protector tube must be positioned in the gap
(See Figure 3).
warranty!
Figure 2: Unit Placement
5
© Copyright Aero-Spa®, LLC 2021 REV H
