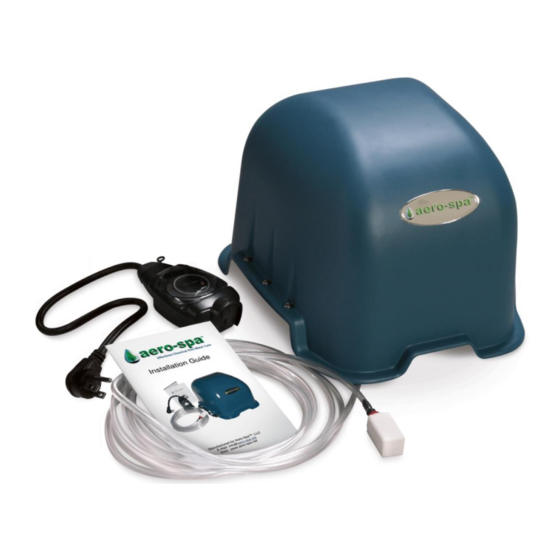
Aero-Spa AP 1000 설치 매뉴얼 - 페이지 6
{카테고리_이름} Aero-Spa AP 1000에 대한 설치 매뉴얼을 온라인으로 검색하거나 PDF를 다운로드하세요. Aero-Spa AP 1000 13 페이지.
Aero-Spa AP 1000에 대해서도 마찬가지입니다: 설치 매뉴얼 (12 페이지)

Clear Protector Tube
4.) Lower the sintered diffuser into the hot tub and allow it to rest on
the bottom
5.) Locate the closest electrical outlet on the house or garage that is
at least 10' from the hot tub that can be used to supply power to
the equipment
6.) Insert the electrical plug from the Aero-Spa into provided cycle
timer. Adjust the timer to operate 2 hours of run time 2 times per
day. Adjust the timer based on your use habits. Reducing the run
time while maintaining water clarity will maximize the equipment
life and minimize power consumption.
7.) Insert the electrical plug from the cycle timer into a GFCI (Type 15-
5R) outlet. The equipment will begin to operate. You will hear a
faint hum from the generator and a steady bubble stream will be
emitted from the diffuser.
Grounding Instructions
This product must be grounded. In the event of an electrical short
circuit, grounding reduces the risk of electric shock by providing an
escape wire for the electric current. This product is equipped with a
cord having a grounding wire with an appropriate grounding plug
(type 5-15P). The plug must be plugged into an outlet (type 5-15R)
that is properly installed and grounded in accordance with all local
codes and ordinances. If repair or replacement of the cord or plug is
necessary, contact Aero-Spa, LLC or a qualified electrician. Check
with a qualified electrician or serviceman if the grounding instructions
are not completely understood, or if in doubt as to whether the
product is properly grounded.
Figure 3: Air Line installed in hinge with clear plastic
protector sleeve
6
© Copyright Aero-Spa®, LLC 2021 REV H
