AMQ ACTIV DT Riser 조립 설명서 - 페이지 4
{카테고리_이름} AMQ ACTIV DT Riser에 대한 조립 설명서을 온라인으로 검색하거나 PDF를 다운로드하세요. AMQ ACTIV DT Riser 9 페이지.
AMQ ACTIV DT Riser에 대해서도 마찬가지입니다: 설치 매뉴얼 (5 페이지), 설치 매뉴얼 (8 페이지), 문제 해결 매뉴얼 (2 페이지)
INSTALLATION
Step 1
Use M6X14 screws (x4) to assemble base to
column. Wire the column to the control box.
M6X14
Step 3
Slide the primary worksurface over
the column and set column to lowest
position.
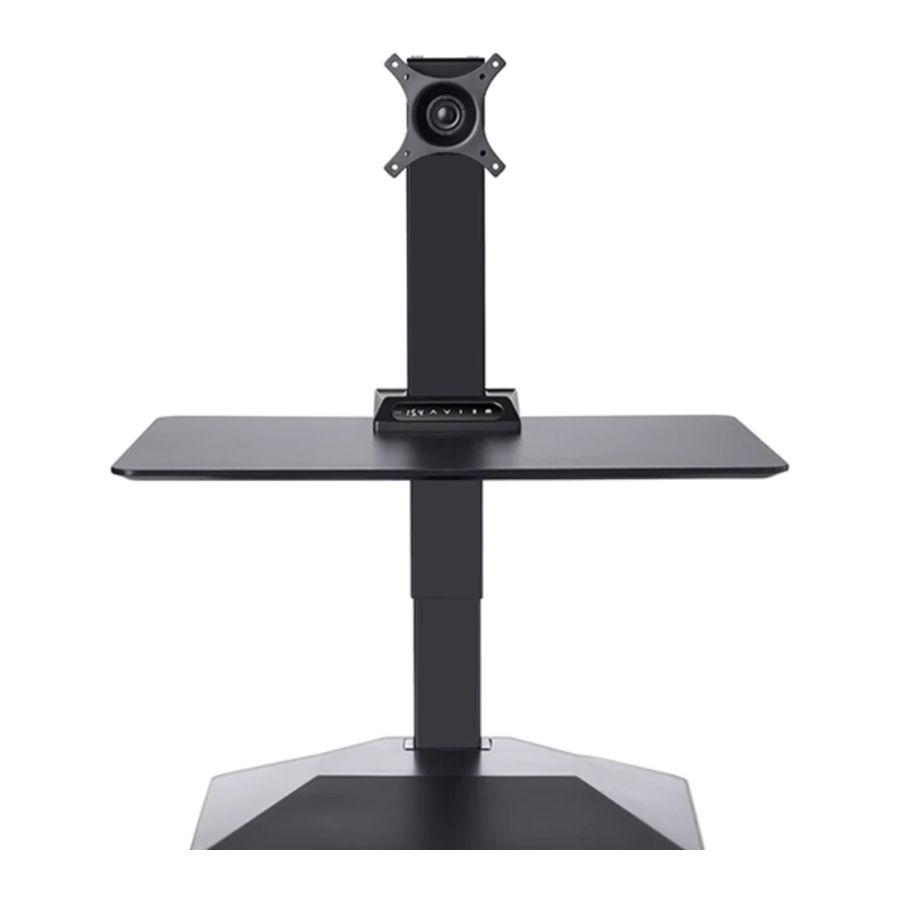
Step 5
Use M6X12 screws (x4) to attach monitor
holder to top of column. Remove the M4X10
screw under the monitor holder to release
the VESA plate. Attach the VESA plate to the
monitor and resecure to monitor holder with
the M4X10 screw.
NOTE:
1. For single monitor mount, the maximum monitor size allowed is 43" and maximum
weight capacity for monitor is 20 lbs.
2. For safety and avoiding product tipping, if keyboard tray is to be assembled, please
assemble the keyboard tray first before installing the monitor mount and monitor.
ACTIV DT RISER ASSEMBLY GUIDE | 4
Step 2
Use M6X8 screws (x4) to assemble the support
plate to pre-drilled holes at the bottom of column.
M6X8
Step 4
Wire the handset to the control box and plug in the
power cord.
Raise the column at least 8 inches. Use M6X25 screws
(x4) to mount te primary worksurface to support plate.
The maximum weight capacity
NOTE:
for primary worksurface is 55 lbs.
M6X12
M6X25
M4X10
amqsolutions.com