Carmanah R247-G 매뉴얼 - 페이지 8

{카테고리_이름} Carmanah R247-G에 대한 매뉴얼을 온라인으로 검색하거나 PDF를 다운로드하세요. Carmanah R247-G 9 페이지. Wireless control
Carmanah R247-G에 대해서도 마찬가지입니다: 빠른 시작 매뉴얼 (16 페이지), 매뉴얼 (11 페이지), 에너지 관리 시스템 교체 매뉴얼 (12 페이지), 캐비닛 도어 교체 매뉴얼 (10 페이지), 매뉴얼 (10 페이지), 설치 매뉴얼 (14 페이지), 매뉴얼 (10 페이지), 매뉴얼 (10 페이지), 사용자 설명서 부록 (12 페이지)
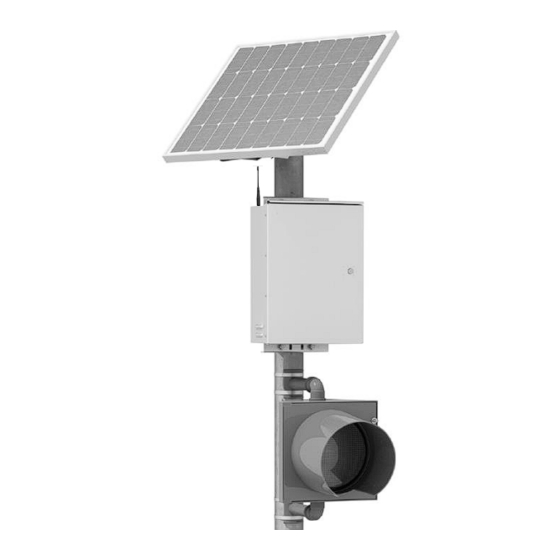
Carmanah R247-G 매뉴얼
4. Route the green AC ground wire from the AC backplane to the grounding stud on the left side of the
cabinet. If you have the Polara XAV push button option, you will need to route it behind the control board.
5. Ensure the circuit breaker on the AC backplane is turned off.
6. Wire AC power into the cabinet following the AC Input label color coding (black wire to BK Line, white
wire to WT Neutral, green to GN Ground).
7. Strain relief the AC wires to the AC backplane using the provided cable ties.
8. Ensure the AC wiring is secure and installed with the proper polarity.
9. Insert Solar and Battery/DC Power fuses into fuse holders on right side of cabinet (the solar fuse holder is
a location to store a spare fuse).
10. Turn on the source AC power and then the circuit breaker in the cabinet. Ensure the EMS (Energy
Management System) powers up and the OBUI (on-board user-interface) visibly lights up.
11. Test system and ensure it is operating as prior to the retrofit.
a. Ensure the battery (power supply) voltage is ~15V.
b. Run the BIST (built-in self-test) and verify you only have a charging error (4000), which is normal
for AC-powered systems.
c. Visit
support.carmanah.com
Carmanah Technologies Corp. | 250 Bay St, Victoria, BC V9A 3K5, Canada | 1.250.380.0052 |
for a list of BIST error codes.
SOLAR TO AC RETROFIT GUIDE
|
carmanah.com
8