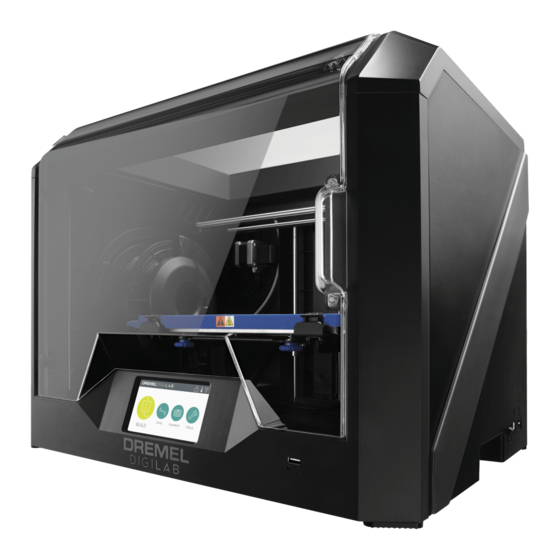
Dremel DigiLab 3D45 매뉴얼 - 페이지 4
{카테고리_이름} Dremel DigiLab 3D45에 대한 매뉴얼을 온라인으로 검색하거나 PDF를 다운로드하세요. Dremel DigiLab 3D45 4 페이지. Print removal
Dremel DigiLab 3D45에 대해서도 마찬가지입니다: 빠른 시작 매뉴얼 (2 페이지), 서비스 지침 (4 페이지), 사용 설명서 (2 페이지), 서비스 매뉴얼 (4 페이지), 캘리브레이션 매뉴얼 (2 페이지), 빠른 시작 매뉴얼 (2 페이지)

3. Removing the Extruder Motor.
a. Disconnect the white extruder terminal block from the
extruder connector as shown in the picture below.
Ensure to grab the block and avoid pinching the wires.
b. Unscrew the two motor screws below using the Torx
screwdriver, as shown in the picture below. Please
ensure that the screws once fully unscrewed, should
still be left inserted in the extruder chassis hole.
c. Pull the extruder motor assembly away from the printer
(vertically) as shown in the picture below.
2610038113
Congratulations!
You are now ready to build. Build On.
4. Cleaning the stepper gear. There might be filament residue
in your stepper motor gear, use your brush to clean the
gear of the stepper motor.
5. Replace Extruder Motor.
a. Place the extruder motor on the chassis. Extruder motor
screw holes should line up with holes in the chassis.
b. Tighten the two hex screws with 2.5mm Hex wrench.
Refer picture under Step 3b.
c. Plug in the white terminal block on the extruder connec-
tor as shown in picture under Step 3a (encircled).
6. Replace Top Cover.
a. Attach the filament runout switch wires of the cover to
the extruder circuit board. Refer picture under Step 2d.
b. Place the new top cover over the extruder.
c. Replace the two 2mm screws onto the cover. Refer
picture under Step 2c.
7. Test the Machine.
a. Plug in and turn on the 3D45.
b. Navigate to "Filament" and follow the on screen instruc-
tions to load filament.
c. Build a file on the machine to ensure the 3D45 printer
is working correctly.
05/2018
