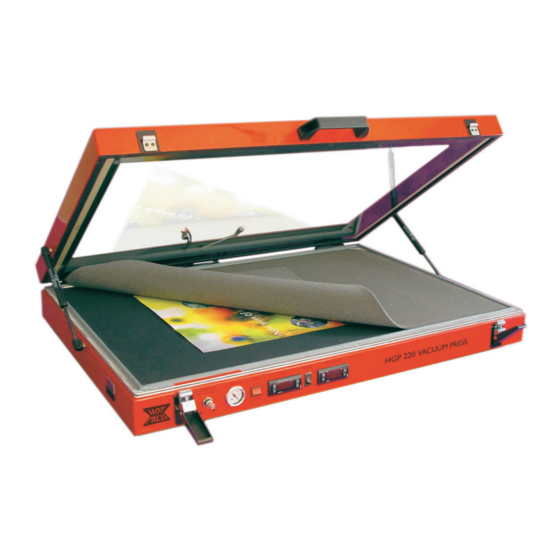
Drytac HOT PRESS HGP260 사용자 설명서 - 페이지 9
{카테고리_이름} Drytac HOT PRESS HGP260에 대한 사용자 설명서을 온라인으로 검색하거나 PDF를 다운로드하세요. Drytac HOT PRESS HGP260 19 페이지. Heated glass top vacuum press
Drytac HOT PRESS HGP260에 대해서도 마찬가지입니다: 운영자 매뉴얼 (19 페이지)

HOT PRESS USERS MANUAL
O
PERATING THE VACUUM PUMP
Automatic Control
For automatic control, the pump switch should be set in the AUTO
position. The Timer controls the length of the cycle in minutes and
seconds.
The Timer has three operating modes:
Set - Normal mode. The timer is ready to operate.
Pgm - Program mode. The preset time may be changed.
HAnd - Manual mode (see "Manual Operation" below).
When in Set mode, the timer displays the preset time.
When in Program mode, either the minutes or seconds digits will be
fl ashing to indicate that you may change them as desired.
To Change The Preset Time
Enter the Program mode by pressing Button 1; either the minutes or
seconds digits will fl ash. To alternate between minutes and seconds
press Button 2. Use Button 3 to increase or
Button 3
Button 3 to increase or
time. Once the desired value has been set, press Button 1 to return
to set mode.
To Start the Vacuum Cycle
In Set mode (when no digits are fl ashing), press Button 3 to start the
cycle. The timer will indicate that the pump is on and begin to count
down. Once the preset time has elapsed, the pump will stop, the
vacuum will be released and the counter will return to showing the
preset time.
If you wish to stop the cycle part way through, simply press Button 4.
This will stop the pump, release the vacuum and reset the timer.
Manual Operation
Switching the PUMP switch to the MANUAL position will cause the
pump to start. The pump will run until the switch is returned to the
AUTO position.
The Timer also has a manual mode, which allows it to be used as
a simple On/Off switch. Press Button 2. While keeping Button 2
depressed, press Button 1. The timer will display the word hAnd.
Pressing Button 3 (start) will switch the pump on; pressing
Button 3
Button 3 (start) will switch the pump on; pressing
(stop) will switch it off. To return to automatic operation, press Buttons
2 and 1 as described above. Although this facility is available, we
recommend that you use the AUTO/MANUAL switch rather than the
hAnd function.
(T
)
IMER
Button 4 to decrease the
Button 3 to start the
Button 3
Button 4
9
Timer Controls
Illustration 9A: Locations of controls for
vacuum cycle duration.
